

Packaging failures are not just embarrassing. They are expensive. Tropicana’s untested redesign cost $19M in lost sales before the company reversed course, proving that even established brands can stumble without a disciplined design process. For brand managers and marketing professionals in retail and foodservice, the stakes are equally high. Consumers now factor sustainability into purchase decisions, and packaging is often the first physical touchpoint your brand gets. This guide walks you through every stage of a structured, eco-friendly custom packaging design workflow so you can reduce risk, cut waste, and launch with confidence.
Table of Contents
- Overview of the custom packaging design workflow
- Step 1: Briefing, research, and brand goal alignment
- Step 2: Structural design, material selection, and eco-innovation
- Step 3: Artwork, prototyping, testing, and compliance
- Step 4: Production, launch, and iterative improvement
- Our perspective: The uncomfortable truth about packaging workflow success
- Explore custom eco-friendly packaging solutions
- Frequently asked questions
Key Takeaways
| Point | Details |
|---|---|
| Workflow mapping | Understand all design stages and align early with sustainability and brand goals. |
| Eco-innovation | Prioritize mono-materials, LCA, and right-sizing to reduce environmental impact and costs. |
| Testing and compliance | Prototype rigorously and ensure regulatory checks for a safe, successful launch. |
| Iterative improvement | Gather feedback post-launch to refine designs and boost ROI. |
| Brand differentiation | Leverage packaging design for higher consumer engagement and shelf visibility. |
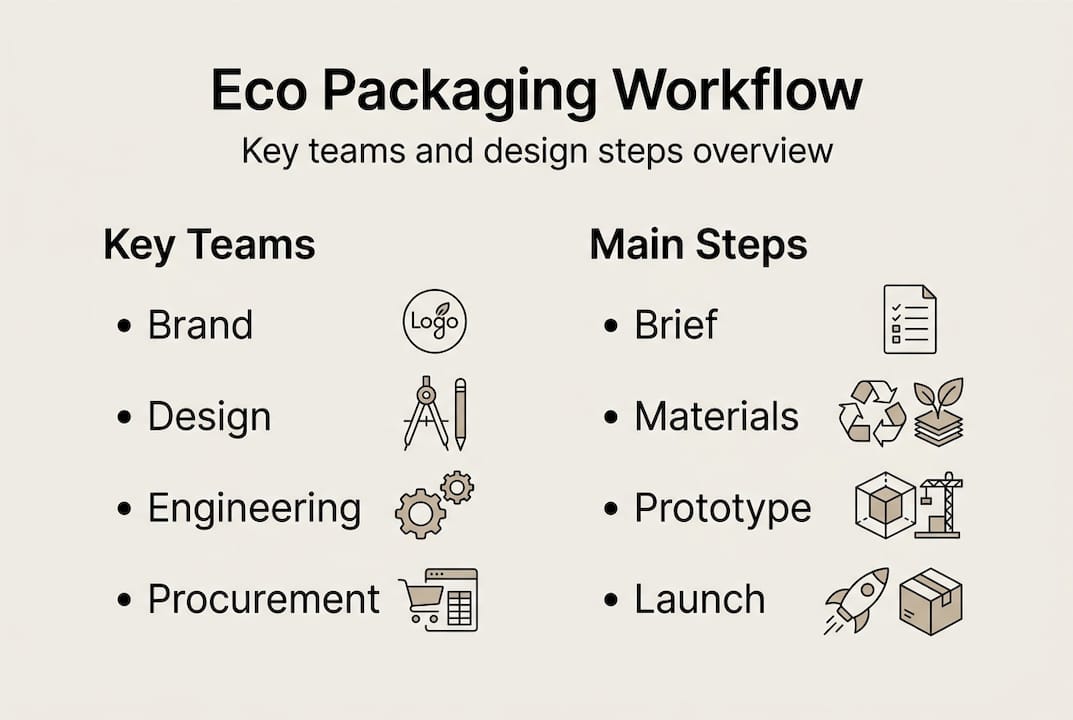
Overview of the custom packaging design workflow
Before diving into individual steps, it helps to see the full picture. A custom packaging design workflow typically follows 7 to 8 structured stages, from initial brief to post-launch iteration. Skipping or rushing any stage is where brands lose money, miss compliance requirements, or end up with packaging that underperforms on shelf.
Here is how a traditional workflow compares to an eco-innovative one:
| Stage | Traditional workflow | Eco-innovative workflow |
|---|---|---|
| Brief and research | Market and competitor focus | Adds sustainability benchmarks and LCA goals |
| Material selection | Cost and aesthetics first | Mono-materials, recycled content, biodegradable options |
| Structural design | Standard dielines | Right-sized structures to reduce material use |
| Prototyping | Visual mockups | Physical tests for durability and logistics |
| Compliance | Regulatory minimums | Recycling labels, FSC certification, allergen info |
| Launch | Single-channel rollout | Omnichannel with consumer feedback loops |
| Iteration | Reactive redesigns | Data-driven, scheduled improvement cycles |
The key teams involved include brand strategy, graphic design, structural engineering, procurement, compliance, and logistics. Each team touches the workflow at different points, which is why cross-functional alignment from day one matters so much.
Building waste reduction into your workflow is not just good ethics. It directly affects your bottom line by reducing material costs and improving consumer perception. You should also factor in packaging compliance in retail early, since late-stage compliance fixes are among the most expensive mistakes a team can make. A solid regulatory compliance guide can help you map requirements before design begins.
Key roles in the workflow:
- Brand strategist: owns the brief and consumer insights
- Structural designer: creates dielines and tests physical performance
- Graphic designer: develops visual hierarchy and brand expression
- Procurement: sources materials and manages supplier relationships
- Compliance officer: verifies regulatory and sustainability claims
Step 1: Briefing, research, and brand goal alignment
Every strong packaging project starts with a detailed brief. This document is not a formality. It is the single source of truth that keeps designers, procurement teams, and compliance officers aligned throughout the entire process. A weak brief leads to misaligned expectations, expensive revisions, and missed market opportunities.
Your brief should cover the target market, competitive landscape, product specifications, distribution channels, and regulatory requirements. It should also include sustainability goals. Brands like Allbirds have set a clear benchmark here: their use of 100% recycled corrugated reduced their carbon footprint by 22%, showing what is possible when sustainability is written into the brief from the start.
Research is equally critical. Prioritizing research and prototyping early in the process is one of the most reliable ways to avoid costly failures down the line. Study your competitors’ packaging at shelf level. Identify what materials they use, what claims they make, and where their designs fall short. This gives your team a concrete baseline to beat.
Understanding paper vs. plastic emissions during the research phase helps you make material decisions grounded in data rather than assumption. Connecting packaging to your broader marketing strategy at this stage also ensures that your design choices reinforce brand positioning rather than contradict it.
Essential elements for a strong packaging brief:
- Product dimensions, weight, and fragility requirements
- Target retail environment (shelf, e-commerce, foodservice counter)
- Sustainability goals and preferred material certifications
- Regulatory requirements by market (FDA, recycling labels, allergens)
- Brand guidelines including color palette, typography, and tone
- Budget range and production volume estimates
- Timeline with key milestones and approval gates
Pro Tip: Run a stakeholder workshop before finalizing the brief. Operations, sales, and sustainability teams often surface requirements that marketing alone would miss, saving weeks of revisions later.
Step 2: Structural design, material selection, and eco-innovation
With a clear brief in hand, your team can move into structural design and material selection. This is where abstract goals become physical realities, and where the most consequential decisions get made. The design phase locks in roughly 80% of a product’s environmental impact, which means the choices you make here will follow your packaging for its entire life cycle.
Dielines are the technical blueprints for your packaging structure. They define fold lines, cut lines, and safety margins. Getting these right early prevents costly tooling changes later. Information hierarchy on the dieline, meaning what text and graphics appear where, should be planned before artwork begins so that visual design serves the structure rather than fighting it.
For eco-innovation, prioritize mono-materials for recyclability and right-size your structures to minimize material use. Mixed materials like plastic windows in paper bags create recycling complications that frustrate consumers and undermine your sustainability claims. Companies like Sempack have demonstrated that structural redesign for CO2 reduction is achievable without sacrificing product protection.
Explore eco-friendly material options that align with your product category and distribution needs. A sustainable packaging guide can help you compare FSC-certified paper, recycled content, and compostable alternatives across cost and performance dimensions.
| Material | Environmental impact | Cost index | Best for |
|---|---|---|---|
| FSC-certified kraft paper | Low | Medium | Retail, foodservice, apparel |
| Recycled corrugated | Low to medium | Low to medium | E-commerce, shipping |
| Compostable film | Very low | High | Specialty food, premium retail |
| Virgin paperboard | Medium | Low | High-volume, budget-sensitive |
| Mixed material (paper + plastic) | High | Low | Avoid for eco-focused brands |
Structural design steps in order:
- Define product dimensions and protection requirements
- Draft initial dieline with safety margins and fold tolerances
- Select primary material based on eco-goals and budget
- Validate structure against logistics requirements (stacking, DIM weight)
- Submit for internal review before moving to artwork
Pro Tip: Always test your structural design with actual product weight and real shipping conditions before finalizing. A beautiful dieline that fails a drop test will cost far more to fix after tooling is complete.
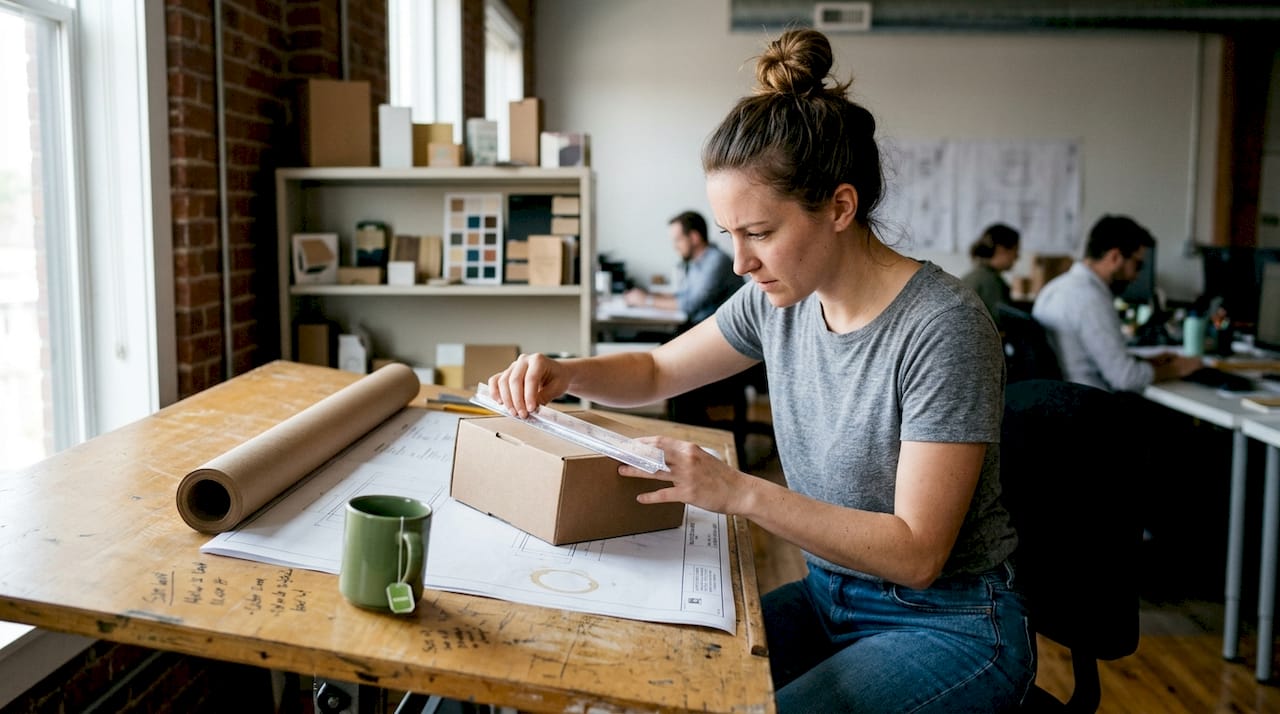
Step 3: Artwork, prototyping, testing, and compliance
Once structure and materials are confirmed, the workflow moves into visual design, prototyping, and compliance validation. This stage is where your packaging starts to look like a real product, and where many teams make the mistake of treating aesthetics as the finish line.
Effective artwork starts with dielines first, then information hierarchy, followed by high-contrast visual elements that perform at shelf distance and in 200-pixel e-commerce thumbnails. Your brand claims, certifications, and sustainability messaging should be visible and legible at both scales. Designing only for shelf and ignoring digital thumbnails is a common and costly oversight.
“72% of consumers say packaging design influences their purchase decision.” This is not a reason to over-invest in decoration. It is a reason to invest in strategic visual communication that connects brand values to consumer needs.
Rapid prototyping lets you test durability, shelf presence, and the unboxing experience before committing to a production run. Physical prototypes reveal problems that digital mockups simply cannot, including how a bag feels in a customer’s hand, whether closures hold under real-world conditions, and how the packaging performs after being handled by multiple people.
Compliance is non-negotiable, especially in foodservice. FDA nutrition facts, allergen labeling, and recyclability marks must be accurate and correctly placed. Missing a compliance requirement at this stage can delay launch by weeks and trigger costly reprints. Review how packaging shapes customer experience to understand how compliance elements can be integrated without disrupting visual flow. Staying current on compliance in packaging protects your brand from regulatory risk.
Sequential prototyping and testing steps:
- Print physical prototype using production-equivalent materials
- Conduct drop, compression, and stack tests
- Review shelf visibility at 3 feet and thumbnail visibility at 200 pixels
- Run a small-group consumer usability test for open, close, and carry functions
- Complete compliance checklist against all applicable regulations
- Obtain final sign-off from brand, legal, and operations before prepress
Prototyping in manufacturing follows a similar iterative logic: build, test, refine, repeat until the design is proven.
Step 4: Production, launch, and iterative improvement
Approved designs move into prepress, where files are prepared for print production. This includes color separation, plate-making for flexo printing, and final proofing. Batch testing during early production runs catches color inconsistencies and structural defects before full volume is committed.
Supplier selection at this stage matters enormously. Canadian manufacturers offer advantages including faster turnaround, lower logistics costs, and easier quality oversight compared to offshore alternatives. Domestic production also reduces your carbon footprint from shipping, which strengthens your sustainability story.
Launch coordination should cover retail placement, e-commerce listings, and foodservice rollout simultaneously. Collect consumer feedback from all channels within the first 30 days. Shelf analytics, return rates, and social media sentiment are all valid data sources.
Design-to-production cycles typically run 6 to 12 weeks for most brands, with additional time needed for compliance reviews in regulated categories. A/B testing different packaging versions on shelf can drive 15 to 20% conversion uplift when done rigorously.
| Launch strategy | Traditional approach | Eco-oriented approach |
|---|---|---|
| Rollout | Single retail channel | Omnichannel with sustainability messaging |
| Feedback | Post-season review | 30-day consumer and shelf analytics |
| Iteration | Annual redesign | Quarterly data-driven updates |
| Supplier review | Cost-focused | Cost plus sustainability scorecard |
Top sources of post-launch feedback:
- In-store shelf scan data and planogram performance
- E-commerce return reasons and product reviews
- Consumer surveys focused on unboxing and usability
- Retail buyer feedback from category reviews
- Social media mentions and user-generated content
Our perspective: The uncomfortable truth about packaging workflow success
Most packaging projects that fail do not fail because of bad design. They fail because teams treat the workflow as a linear checklist rather than an iterative system. The visual work gets most of the attention and budget, while structural testing, life cycle assessment, and logistics validation get squeezed into the final weeks.
Here is the reality: 80% of a package’s environmental impact is determined in the design phase. If your team is not running LCA (Life Cycle Assessment, a method for measuring environmental impact across a product’s full life) during material selection, you are making sustainability claims based on guesswork rather than data.
Over-investing in aesthetics while under-investing in testing is a pattern we see repeatedly. A beautifully printed bag that fails a drop test or confuses consumers about recyclability does not just cost money. It damages brand trust. The brands that consistently win on packaging treat customer experience insights as a design input, not an afterthought.
Pro Tip: Use LCA as a decision tool at the material selection stage, not as a compliance checkbox at the end. It will change which materials you choose and often reduce costs in the process.
Explore custom eco-friendly packaging solutions
Putting this workflow into practice requires the right manufacturing partner, one that understands both design and sustainability from the inside out. Gather Packaging works with retail and foodservice brands to develop custom kraft paper bags that meet exacting quality standards while supporting your eco-goals.
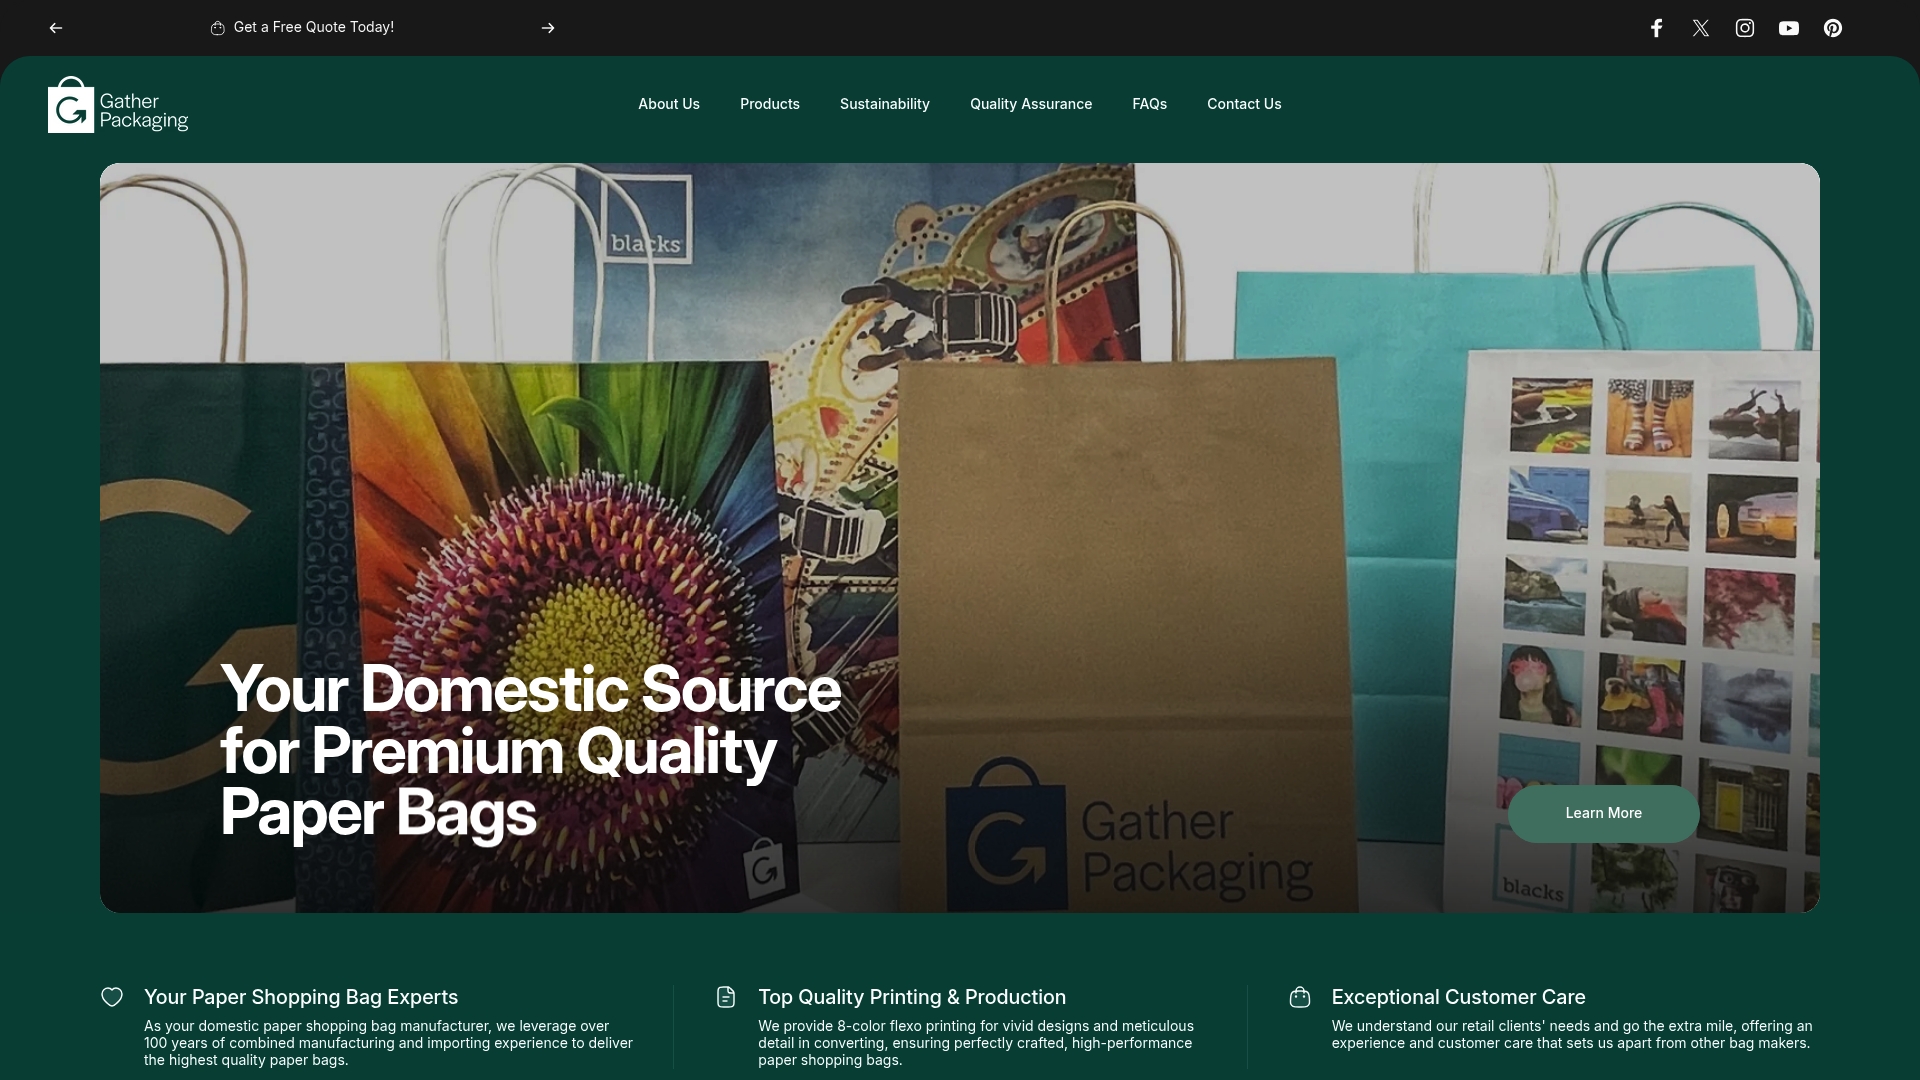
From FSC-certified materials and water-based inks to 8-color flexo printing and rapid prototyping support, our team is equipped to move your packaging from brief to production efficiently. Browse our eco-friendly paper bags and custom printed eco bags to see what is possible for your next launch. Reach out to start a conversation about your workflow needs.
Frequently asked questions
How long does a custom packaging design workflow typically take?
Most design-to-production cycles run 6 to 12 weeks, depending on complexity, compliance reviews, and the number of prototyping iterations required.
What are the key sustainability metrics to track in packaging design?
Brands should track material recyclability, carbon footprint, and life cycle impact. Prioritizing mono-materials and right-sizing structures are two of the most effective ways to improve these metrics.
Why is prototyping important in custom packaging design?
Prototyping prevents costly failures by letting teams test durability, consumer usability, and shelf impact before committing to a full production run.
What regulatory checks are critical in foodservice packaging?
FDA nutrition facts, allergen labeling, recyclability marks, and material compliance are all required. Missing any of these can delay launch and trigger expensive reprints.
How can you maximize consumer impact with packaging?
Focus on information hierarchy and high-contrast visuals that perform at both shelf distance and in small digital thumbnails, then validate through consumer testing before launch.
Share:
How paper bags are made: 7 steps for retail & food
Green packaging explained: boost sustainability and brand value