
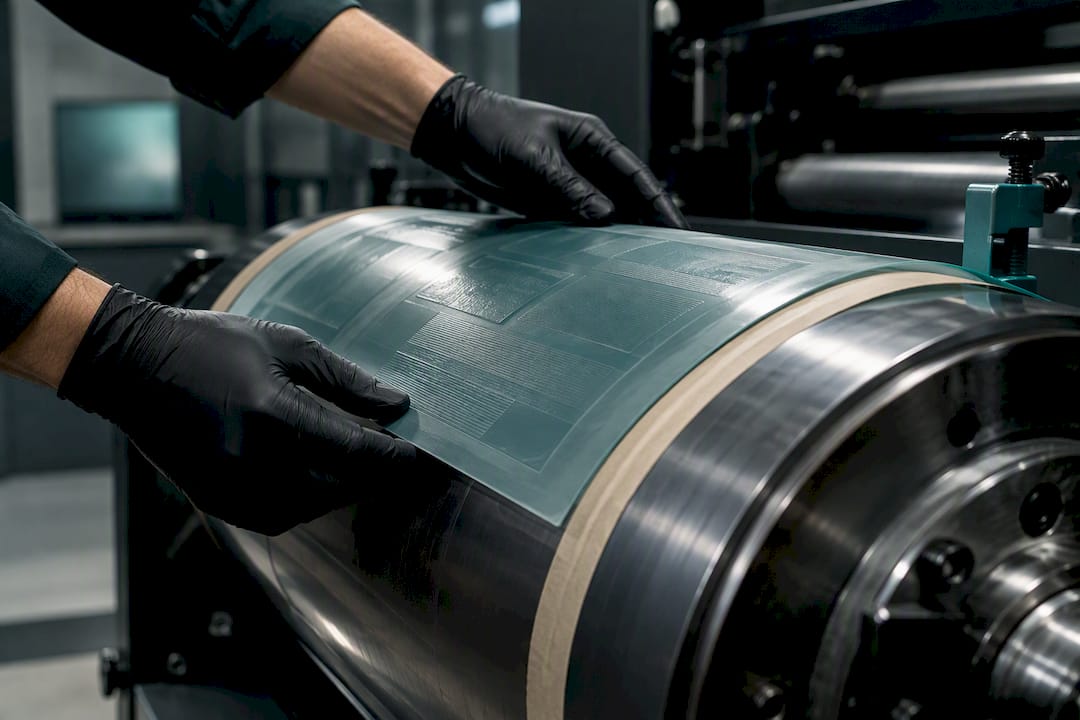
Digital photopolymer flexo plates are widely used as the preferred option for printing on paper shopping bags. Three factors decide the details: the paper grade and finish, the run length (since plate cost gets amortized per bag), and the resolution or screening the artwork demands. Before you finalize artwork, confirm plate gauge, cylinder repeat, and anilox specs with your supplier. Getting that sequence backward is the single most common cause of a failed proof.
TL;DR:
- Flexo plates typically cost based on the imaged relief area, with higher screening and flat-top plates increasing per-square-inch prices.
- Properly matching plate gauge and cylinder repeat to press specifications is crucial to prevent registration issues and distortion in printed bags.
- Digital imaging provides more consistent dot control and easier repeatability than older analog methods, reducing proofing and reprint failures.
- Using solvent washout plates involves longer processing times and higher VOC handling, while thermal and water-wash options shorten turnaround and reduce environmental impact.
- For run lengths over a few thousand units, flexo remains the most cost-effective printing method, provided distortion compensation and plate setup are correctly managed.
Table of Contents
- Types of Paper Bag Printing Plates and When to Use Each
- How Flexo Plates Are Made: The Steps That Decide Print Quality
- Plate Thickness, Relief, and Screening for Paper Substrates
- Plate Costs and How to Amortize Them Into Your Unit Price
- File Prep Checklist for Flexo Plates: Distortion Compensation and More
- What to Specify When Requesting a Plate Quote
- How Gather Packaging Applies These Plate Standards
- Plate Mounting: Best Practices for a Clean Press Setup
- Registration and Alignment: Getting Setup Right the First Time
- Common Print Defects Traced Back to Plate Problems
- Environmental Considerations: Disposing of and Recycling Used Plates
- A Buyer’s Rules of Thumb
- Get a Plate-Ready Quote From Gather Packaging
- Sources
- FAQ
Types of Paper Bag Printing Plates and When to Use Each
Digital photopolymer flexo plates handle the overwhelming majority of paper bag printing jobs, and for good reason. Laser imaging burns the mask directly onto the plate surface, which gives tighter dot control and more consistent repeatability run after run than older analog film-based methods allow. Once a plate is imaged digitally, the same file reproduces the same dot structure on the next order, which matters when a retailer reorders the same bag six months later.
Thicker gauges and liquid photopolymer come into play for heavier or more textured substrates, where the extra relief depth helps the plate maintain solid ink coverage on rougher paper. Thin, label-style plates suit fine linework and small text but can struggle to hold up under the impression pressure that thicker kraft stock requires.
Hot-stamp dies are a separate animal entirely. They’re metal dies used for foil stamping or embossing, not photopolymer relief plates, and they work through heat and pressure rather than ink transfer. If a bag design calls for a metallic logo or a debossed texture, that’s a hot-stamp conversation, not a flexo plate conversation.
Processing chemistry also shapes your production timeline:
- Solvent washout plates take longer to process and carry more VOC handling requirements.
- Water-wash plate processing reduces chemical handling but may have different washout speeds.
- Thermal (dry) processing skips liquid washout entirely, reducing VOCs and often shortening cycle time for quick-turn prototype runs.
How Flexo Plates Are Made: The Steps That Decide Print Quality
Every flexo plate goes through the same core sequence, and each step is a place where quality can either hold or fall apart.
- File preflight. The plate maker checks resolution, color separations, and file structure before anything gets imaged.
- Imaging. A laser ablates a black mask layer on the plate surface (digital imaging) or, in older analog shops, artwork is exposed through film. Digital imaging now dominates because it holds finer dot structure and repeats more accurately across a run, since the photopolymer relief plates are produced through imaging, UV exposure, washout, and final curing with far less variation than film ever allowed.
- Back exposure. UV light hits the back of the plate to build the floor, which sets relief depth.
- Main exposure. UV light cures the image areas through the imaged mask.
- Washout. Uncured polymer is removed with solvent, water, or a thermal blotting process, leaving the relief image.
- Drying and finishing. The plate dries, then gets a final light exposure to fully harden the surface.
Most remakes trace back to one of three points: the imaging step (a scratched or under exposed mask), the main exposure (under curing that leaves soft relief), or the washout (residue left in the shoulders of the dots). When you get a proof, check the dot shoulders under magnification and ask whether the plate was digitally imaged. Thermal and water-wash workflows tend to turn plates around faster than solvent processes, which matters when a prototype run is on a tight deadline.
Plate Thickness, Relief, and Screening for Paper Substrates
Plate gauge is not a cosmetic spec. It directly affects how much the plate distorts when it wraps around a press cylinder and how well it supports fine detail without collapsing under impression pressure. Industry-standard gauge for paper-based packaging tends to sit near 1.14 mm (0.045 in), though shops use gauges anywhere from 0.045 to 0.250 in depending on the press’s undercut settings and the substrate.
Pro Tip: If your supplier quotes a plate gauge without asking what press and undercut it’s running on, that’s a sign they haven’t matched the spec to your actual equipment.
For screening, paper bag work typically lands in the 120 to 150 LPI range. Smoother, coated stock can support higher LPI for finer detail, but rougher uncoated kraft usually needs to stay lower to avoid dot bridging.
A few practical rules for spec selection:
- Flat-top dot plates improve solid ink laydown and color consistency on extended runs, so specify flat-top capability when color consistency across thousands of bags matters.
- Round-top dots are more forgiving on uneven substrates but wear faster and can lose fine detail sooner.
- Relief depth needs to match anilox volume. Too shallow a relief on a coarse anilox can flood; too deep on a fine anilox starves the image.
- Repeat length has to match the plate cylinder exactly, or registration drifts across the width of the bag.
Plate Costs and How to Amortize Them Into Your Unit Price
Plate shops commonly bill by imaged plate area as the main cost driver, not by job complexity or design. That means plate-area billing is a standard and widely used convention, and the price you pay scales with how many square inches of relief image get produced, not how clever the artwork is.
Pricing tiers shift based on plate type and screening demands: higher-LPI, flat-top digital plates generally cost more per square inch than standard round-top plates, and rush imaging adds a premium on top of the base rate. What actually matters for your budget isn’t the plate price in isolation. It’s the amortization across the total run, since a $600 plate set spread across 5,000 bags adds a fraction of a cent per unit, while the same set spread across 500 bags adds meaningfully more.
When comparing quotes, ask for these as separate line items rather than a bundled number:
- Imaged plate area, in square inches or square centimeters
- File prep and any repro or file conversion charges
- Mounting labor
- Proofing (digital and press proof, if both are offered)
- Rush surcharges and shipping
Buyers running multiple SKUs should also ask whether shared-plate architectures are possible, since spreading plate cost across several related designs can lower the per-SKU plate expense considerably. For a deeper look at how print coverage and tooling amortization move your per-bag cost, see Gatherpackaging’s breakdown of print coverage economics.
File Prep Checklist for Flexo Plates: Distortion Compensation and More
Flexo plate imaging files require specific preparation distinct from offset printing, and treating the two the same is one of the most common (and expensive) mistakes a buyer’s design team can make. If your team is used to offset workflows, it’s worth reviewing how flexo differs from offset before submitting artwork.
Standard prepress requirements for flexo plate files include:
- PDF/X format with CMYK plus any spot colors clearly separated, and white ink isolated on its own plate where the substrate requires it.
- Line art built at high enough resolution to hold fine detail through imaging and washout.
- Trapping and bleeds set to flexo tolerances, not offset tolerances.
- A preflight pass in Acrobat or an equivalent tool to catch missing fonts, low-res images, and unflattened transparency before the file goes to the plate maker.
Distortion compensation is the step that trips up the most first-time flexo buyers. Because flexo plates stretch when wrapped around a printing cylinder, artwork has to be compressed in the print direction before imaging, so it stretches back to the correct proportions once mounted. Skip this and circles print as ovals, and registration drifts across the repeat.
Pro Tip: Distortion compensation must be calculated only in the circumferential direction, based on plate gauge and cylinder repeat together. Apply it to both dimensions and you’ll overcorrect and wreck the artwork proportions the other way.
Attach a short checklist to your RFQ: substrate, plate gauge, cylinder repeat, target LPI, and a note confirming who is responsible for calculating shrinkback.
What to Specify When Requesting a Plate Quote
A vague quote request produces a vague quote, and vague quotes are where hidden costs live. Specify these details every time:
- Substrate type and finish (kraft, coated, recycled content percentage)
- Cylinder repeat and plate gauge
- Target LPI and dot structure (flat-top or round-top)
- Ink system and total color count
- Run length and expected annual impressions
Then ask the vendor directly: what imaging technology do they use, what’s their washout method, is there a minimum billed plate area, what’s turnaround time, and what’s their remake policy if a plate fails QC. A quote that lists a single bundled unit price with no plate area broken out, no gauge specified, and no screening noted is a red flag. It usually means plate amortization is hidden somewhere you can’t audit it.
How Gather Packaging Applies These Plate Standards
Gatherpackaging runs 8-color flexo with CMYK plus four spot stations, backed by pre-press proofing and prototyping before any plate goes to press. FSC-certified paper and domestic production in Toronto keep lead times short and give procurement teams a plate-thickness partner who checks gauge against undercut before a job runs, which is where most reprints start. If you want a proof or prototype before committing to a full plate set, bring your RFQ checklist and we’ll walk through it with you.
Plate Mounting: Best Practices for a Clean Press Setup
Mounting is where a well-made plate either performs to spec or underdelivers, and the difference often comes down to tape and tension rather than the plate itself. Mounting tape needs to match the plate gauge and the print application. A foam-backed tape that’s too soft under a thin plate lets the relief compress unevenly, which shows up as light printing on one side of an image and heavy printing on the other.
Bubbles and wrinkles under the plate are the most common mounting defect, and they’re almost always caused by rushing the application or mounting on a dirty cylinder or sleeve. A clean surface, applied at a consistent, even pressure, prevents most of this. Press operators typically use a proofing or mounting device to verify the plate sits flat before locking it in, since even a small air pocket will telegraph through as a soft spot in the print.
Tension across the plate matters just as much as flatness. A plate mounted with uneven tension stretches slightly more on one edge, which throws off repeat length precision by the time the press hits full speed. Most experienced mounters check registration marks at slow speed first, then again once the press ramps up to production speed, because plates and tape can shift slightly under running tension in ways that don’t show at a crawl.
Storage before mounting matters too. Plates left exposed to heat or direct light for extended periods can degrade slightly at the surface, which affects how cleanly they take ink on the first several hundred impressions. Keeping plates in a cool, dark storage area between platemaking and mounting protects that first-run quality.

Registration and Alignment: Getting Setup Right the First Time
Registration is the process of aligning each color plate so the printed image lands exactly where it should, relative to every other color and to the bag’s die-cut lines. On a multi-station press, even a small registration error on one station throws off the entire image, since colors either overlap where they shouldn’t or leave visible white gaps between elements.
Setup typically starts with a test run at reduced speed, checking registration marks (small crosshairs or bullseyes printed outside the final trim area) under magnification or with a strobe light at full speed. Each plate cylinder has micro-adjustment controls that shift the plate slightly in the circumferential and lateral directions until the marks line up across all stations.
Cylinder repeat has to match the plate’s imaged repeat exactly, because even a fraction of a millimeter of mismatch compounds across a long run, and by bag two thousand the drift is visible to the naked eye. This is why the distortion compensation calculation done during file prep matters so directly here. A plate imaged without correct shrinkback compensation will never register cleanly, no matter how careful the mounting and setup crew is on press.
Once registration holds at running speed, most shops pull a physical proof sheet and compare it against the approved digital proof before letting the run continue unsupervised. That comparison catches drift the eye might miss on a moving press, and it’s the last checkpoint before a bad registration setup turns into thousands of misprinted bags.
Common Print Defects Traced Back to Plate Problems
Most recurring print defects on paper bags trace back to the plate rather than the press, ink, or substrate, which is why troubleshooting should start there before touching anything else.
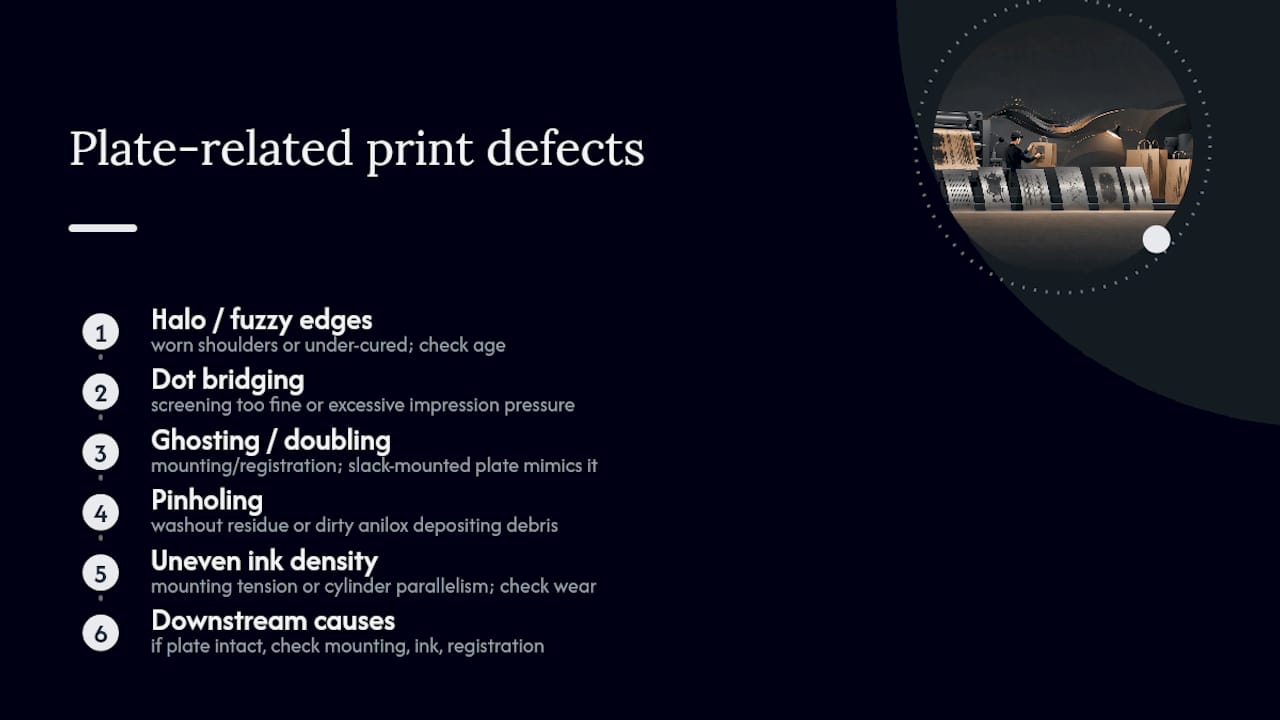
Halo or fuzzy edges around text and fine lines usually point to worn plate shoulders or a plate that wasn’t fully cured during main exposure. Check plate age and impression count first.
Dot bridging in midtones, where individual dots merge into a solid patch, often comes from screening set too fine for the substrate or from a plate mounted with excessive impression pressure. Dialing back pressure or moving to a coarser LPI usually resolves it.
Ghosting or doubling (a faint second image trailing the main one) is typically a mounting or registration issue rather than a plate defect itself, but a plate mounted with slack tape can mimic the same symptom.
Pinholing in solid color areas, small unprinted specks scattered through what should be solid ink, often traces back to washout residue left in the plate’s relief during platemaking, or occasionally to a dirty anilox roll transferring debris onto the plate.
Uneven ink density across a single bag, lighter on one edge and heavier on the other, is almost always a mounting tension or cylinder parallelism problem rather than the plate’s fault, though it’s worth ruling out plate wear first if the plate has run a high impression count.
The fastest diagnostic step in most of these cases is pulling the plate and inspecting the relief under magnification. If the relief structure looks intact and the defect persists, the problem is almost certainly downstream in mounting, registration, or ink delivery, not the plate itself.
Environmental Considerations: Disposing of and Recycling Used Plates
Used flexo plates are photopolymer, which means they don’t biodegrade and can’t go into standard paper recycling streams. Most plate shops and printers separate spent plates for specialized recycling programs that reclaim the base polymer material rather than sending it to landfill, and it’s worth asking your plate supplier directly whether they participate in one.
Processing chemistry also carries an environmental footprint worth weighing at the sourcing stage. Solvent washout systems require solvent recovery and disposal protocols, and the VOC output from solvent processing is measurably higher than thermal or water-wash alternatives. Shops that have moved to thermal, solvent-free platemaking cut that chemical handling burden substantially and often turn plates around faster in the process, which is a rare case where the greener option is also the more convenient one.
For buyers weighing sustainability commitments across their packaging supply chain, it’s reasonable to ask a plate vendor about their washout chemistry and end-of-life plate handling in the same conversation where you ask about gauge and screening. The answer says something about how the shop runs its whole operation, not just its plates.
A Buyer’s Rules of Thumb
Choose flexo over digital printing once run length climbs past a few thousand units, since that’s where plate amortization starts winning on unit cost. Never skip distortion compensation, regardless of run size. Gather your press specs and submit an RFQ with plate gauge and cylinder repeat locked in before finalizing artwork.
— Taylor
Get a Plate-Ready Quote From Gather Packaging
Some manufacturers produce paper shopping bags domestically, so plate specs, prepress proofing, and print runs may happen under one roof instead of involving overseas printers and separate plate shops. That shortens the feedback loop when a proof needs a correction and keeps shipping costs out of your landed price.
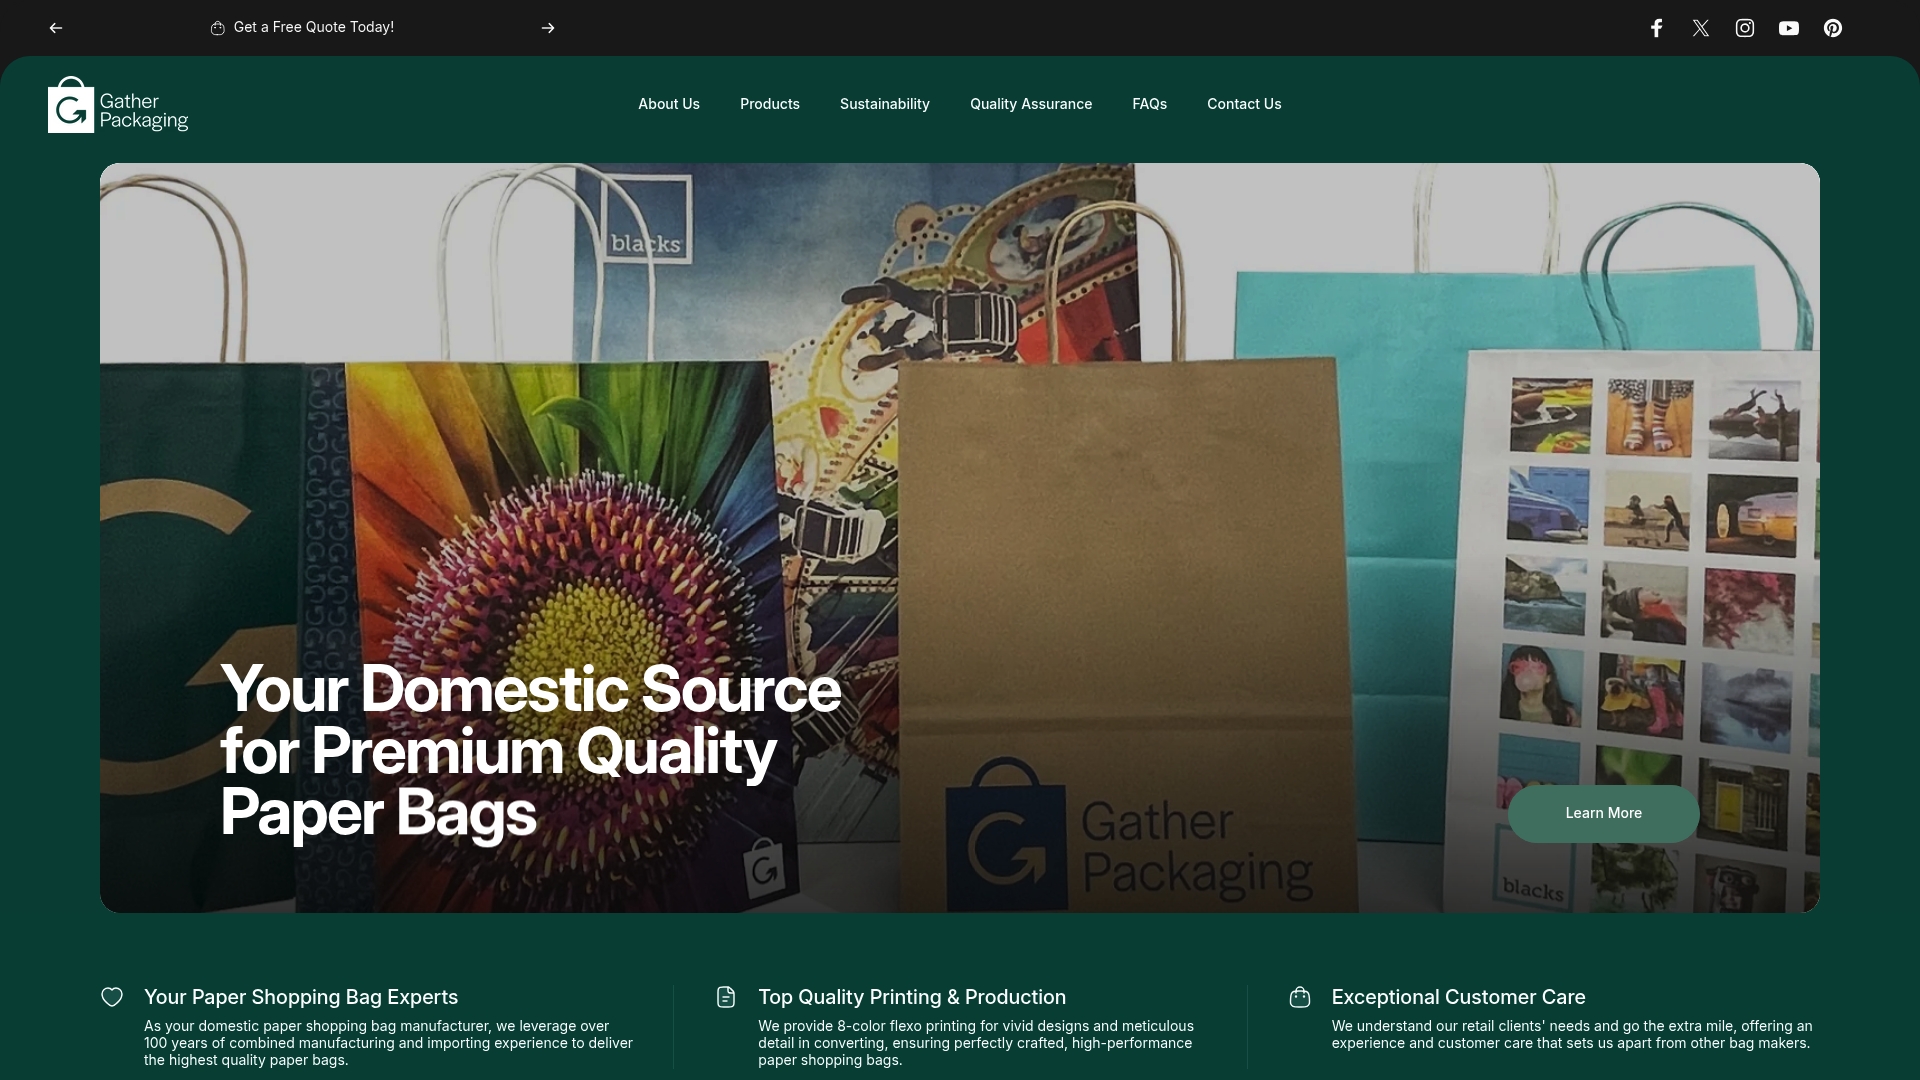
When you reach out for a quote, include your artwork, substrate preference, run length, cylinder repeat, and target color count. Our team handles pre-press proofing, prototyping, and 8-color flexo printing in-house, using FSC-certified materials across turn top, serrated top, and tamper-resistant bag styles. Contact Gatherpackaging to walk through your plate specs and get a prototype started before your next print run.
Sources
- FlexoPedia — Flexographic printing plates
- Labels & Labeling — Print processes: flexographic printing
- PDF Press — Flexographic printing file prep
- Flexoworks — Plate-area billing: how flexo trade shops price plates
FAQ
What Are the Three Main Types of Printing Plates Used for Bags?
The three types are digital photopolymer flexo plates, liquid photopolymer plates for heavier substrates, and hot-stamp dies for foil and embossing work. Flexo photopolymer plates handle the overwhelming majority of standard paper bag printing because of their repeatability and fine dot control.
Can You Print Directly on Paper Bags?
Yes, paper bags print well with flexographic photopolymer plates, typically at 120 to 150 LPI screening depending on the substrate’s smoothness. Coated stock supports finer detail, while uncoated kraft usually needs a coarser screen to avoid dot bridging.
How Much Does a Flexo Plate Cost?
Flexo plates are billed by imaged plate area rather than a flat price, so cost scales with the square inches of relief image produced and the screening tier requested. The right comparison isn’t the sticker price but the amortized cost per bag once you factor in your total run length.
What Is a Flexographic Printing Plate?
A flexographic plate is a raised, relief image, typically made from photopolymer, that transfers ink to a substrate under light pressure. Modern plates are produced through digital imaging, UV exposure, washout, and final curing, which gives them tighter dot control than older film-based plates.
What Is Distortion Compensation and Why Does It Matter?
Distortion compensation adjusts artwork to account for how a flexo plate stretches when it wraps around a press cylinder. Skipping this calculation, which is based on plate gauge and cylinder repeat, turns circles into ovals and throws off registration across the print run.
Share:
Packaging Buyers in Canada: Lock Pantone on Kraft with Gatherpackaging
Packaging Designers: Press Fingerprints That Unlock Flexo Limits