
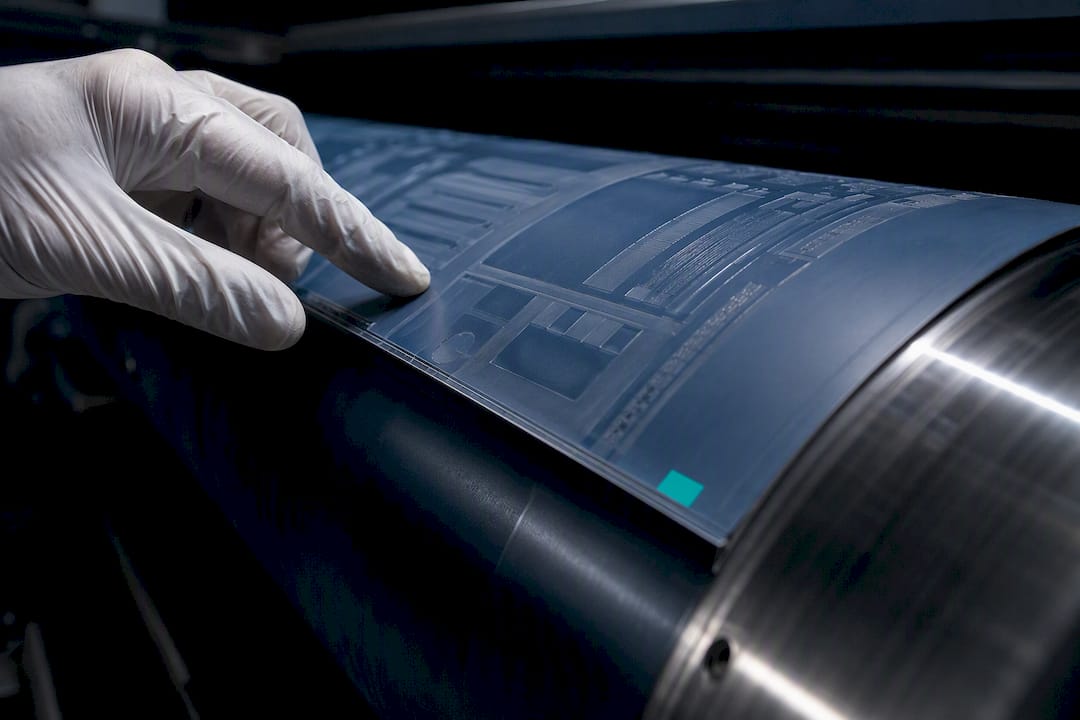
Use 0.045"–0.067" (1.14–1.70 mm) plates for narrow web film and label work where fine detail matters most. Move to 0.112"–0.250" (2.84–6.35 mm) for corrugated post-print and heavy-duty packaging where stability on rough stock matters more than highlight resolution. Every job forces a trade-off between detail and durability, so match the gauge to your press undercut first, run the distortion math second, and specify relief depth in the job ticket before plates ever hit the press.
TL;DR:
- Plates for narrow web film should be 0.045 to 0.067 inches thick to maximize detail, while thicker plates up to 0.250 inches suit rough, heavy-duty substrates.
- Plate distortion depends on thickness, with thinner plates like 0.045 inches experiencing significantly more elongation during wrapping around cylinders, affecting print accuracy.
- Relief depth should typically range from 0.6 mm to 1.0 mm for packaging to balance dot support and stability, with shallower relief supporting higher linescreens if impression control is precise.
- Confirm whether plate vendors subtract backing thickness from nominal gauge, as this influences distortion calculations and plate fit on the press.
- Rigorous QA tests, including profilometry and calibration prints, are essential to ensure plates meet specified thickness and relief tolerances for consistent print quality.
Table of Contents
- What Is the Ideal Flexo Plate Thickness for Your Job?
- How Does Plate Thickness Affect Print Distortion?
- Does Relief Depth Matter as Much as Total Thickness?
- How Do You Match Plate Thickness to Your Press?
- What QA Tests Confirm Correct Plate Thickness and Relief?
- How Does Plate Thickness Apply to Paper Bag Production?
- A Production Note on Plate Selection
- Ready to Lock In Your Plate Specs? Talk to Gather Packaging
- Sources
What Is the Ideal Flexo Plate Thickness for Your Job?
Flexo plate thickness isn’t a single number you memorize. It’s a decision tree that starts with your press hardware and ends with your substrate. Plate makers stock a predictable set of nominal gauges, and each one has a job it does best.
The most common flexographic printing plate specifications you’ll encounter:
- 0.045" (1.14 mm): Narrow web labels and thin film, where fine text and process halftones need every bit of relief precision available.
- 0.067" (1.70 mm): The workhorse gauge for general label and flexible packaging work, balancing detail with reasonable mounting tolerance.
- 0.112"–0.125" (2.84–3.18 mm): Mid-weight packaging and some folding carton work, where the press needs more cushioning against substrate variation.
- 0.155"–0.250" (3.94–6.35 mm): Corrugated post-print and heavy-duty applications, where surface irregularity demands a thicker, more forgiving plate.
Metric equivalents matter here because most plate vendors quote in millimeters even when the American gauge is the reference point everyone still uses on the shop floor. Stocked gauges typically run 0.045, 0.067, 0.112, 0.125, 0.155, and 0.250 inches, and deviating from that list usually means a special order and a longer lead time.
Deviate from the standard guideline when you’re running very high linescreens on a rough or heavily coated substrate. In that case, a thinner plate than the “typical” recommendation can sometimes hold finer dots, provided your press has the impression control to back it up.
How Does Plate Thickness Affect Print Distortion?
Plate thickness and distortion are locked together by geometry. As the plate wraps around the cylinder, the printing surface sits farther from the cylinder’s true diameter than the plate’s mounting base does, and that gap stretches or compresses your image depending on repeat length.
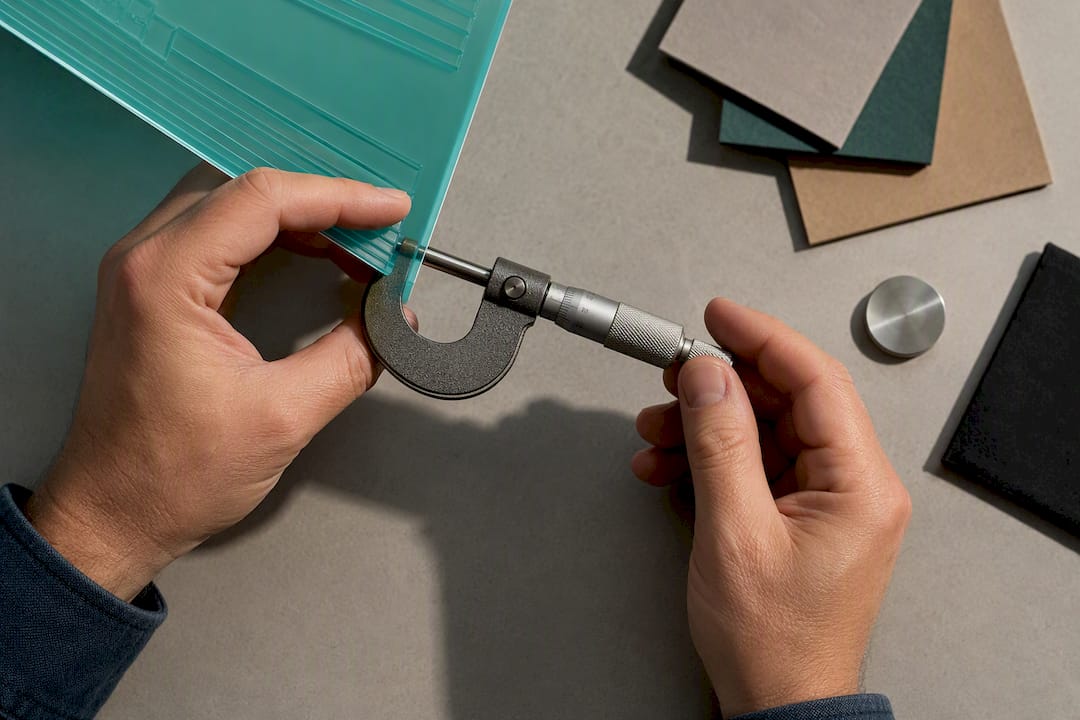
The standard distortion formula uses the printing diameter minus twice the “soft” thickness, divided by the printing diameter. Soft thickness means the photopolymer layer alone, not the total plate thickness. Subtracting the backing, commonly around 0.005", from the total gauge before you calculate is where a lot of prepress teams go wrong, and it produces meaningful error if skipped.
Pro Tip: Always confirm with your plate vendor whether their published thickness spec already excludes backing. Some data sheets do, some don’t, and that single assumption changes your distortion math.
Two examples show how thickness drives the K-factor:
- A 0.067" plate commonly carries a K-factor near 0.39.
- A 0.045" plate runs closer to 0.25.
A worked example for an 8" repeat using a 0.067" plate yields a distortion factor near 95.13%, which tells prepress exactly how much to compress the image before it goes to plate.
Re-run these calculations any time you change plate gauge, cylinder repeat, or backing stock. Empirical testing confirms that plate thickness and hardness affect print pulses more than most other process variables4_web_2415.pdf), which means a gauge change without a fresh distortion check is a gamble, not a shortcut.
Does Relief Depth Matter as Much as Total Thickness?
Relief depth is a separate control from total plate thickness, and treating them as the same thing is one of the more common mistakes in prepress. Relief is the actual depth of the etched image, the distance between the plate floor and the printing surface, while total thickness includes the backing and cushion layer underneath it.
Recommended relief depths for packaging work generally fall in the following ranges:
- 0.6 mm to 1.0 mm for most high-quality packaging jobs, balancing dot support with mounting stability.
- Around 0.50 mm (0.020") as a standard relief for a 1.14 mm (0.045") plate running fine detail.
- Deeper relief on the thicker end of that range when the substrate is rough enough to need extra clearance around solid areas.
FFTA research found that shallower relief depths can reduce highlight dot gain and support higher linescreens when impression control is precise, with experimental reliefs down to 0.009"–0.012" holding dots that deeper reliefs let spread.
Pro Tip: If your press has tight impression consistency and a stable anilox mounting system, ask your plate maker about reducing relief depth on your next label or fine-detail run. The gain in highlight stability is real, but only if your press control matches the plate.
For rough or uncoated stock, deeper relief still wins. The risk of running shallow relief on inconsistent substrate is stripped highlights and inconsistent ink lay, which costs more in reprints than the shallow relief would ever save in image quality.
How Do You Match Plate Thickness to Your Press?
A press fit checklist keeps plate gauge from becoming a guessing game on press day.
- Measure press undercut and carrier. This number, not the image content, sets your maximum allowable plate thickness.
- Confirm allowable plate height against sleeve or cylinder specs before ordering plates.
- Specify nominal gauge and soft thickness on the job ticket, noting the backing subtraction so prepress calculates distortion correctly.
- Calculate distortion and hand the K-factor to prepress before final artwork sizing.
- Specify relief depth, tolerance, and acceptance criteria in writing, not as a verbal understanding with the plate vendor.
- Run a calibration strip on actual production stock, not a generic proofing substrate, before committing to the full run.
Skipping any one of these steps tends to surface as the same set of symptoms: registration drift, inconsistent dot gain, and premature wear on plates that never fit the press to begin with. Treating plate gauge as a press specification rather than an artistic choice is the single habit that prevents most of these failures.
Related reading on packaging print registration covers the operator-side checks that pair with this checklist.
What QA Tests Confirm Correct Plate Thickness and Relief?
Standards bodies and plate vendors publish tolerance numbers for a reason: thickness deviation and relief depth as a percentage of total thickness both affect print consistency in ways that are easy to miss until a run is already on press. Industry standards specify thickness deviation tolerances and relief height as a percentage of total thickness, and holding plates to those numbers is what separates a reliable vendor from one you’ll be troubleshooting all quarter.
Essential QA tests for any plate order:
- Contact profilometry to measure actual relief depth against the spec, not just the nominal plate gauge.
- Calibration prints on production substrate before the full run starts.
- Register targets built into the plate layout to catch drift early.
- Plate-floor inspection for debris or incomplete exposure that changes effective relief.
Document every measurement against the job ticket spec, and when plates fail tolerance, reject and remake rather than trying to compensate on press. Compensating on press almost always means fighting dot gain or registration for the entire run instead of fixing the root cause once. Artwork built with clean vector paths, covered in this vector versus raster comparison, also holds relief tolerance better than raster-heavy files during exposure.
How Does Plate Thickness Apply to Paper Bag Production?
Paper bag substrates split roughly into kraft and coated stock, and each favors a different point on the gauge and relief spectrum. Kraft’s natural texture usually calls for the mid-range gauges with deeper relief to hold ink lay across an uneven surface, while coated stock can support the finer relief that fine linework and process color need.
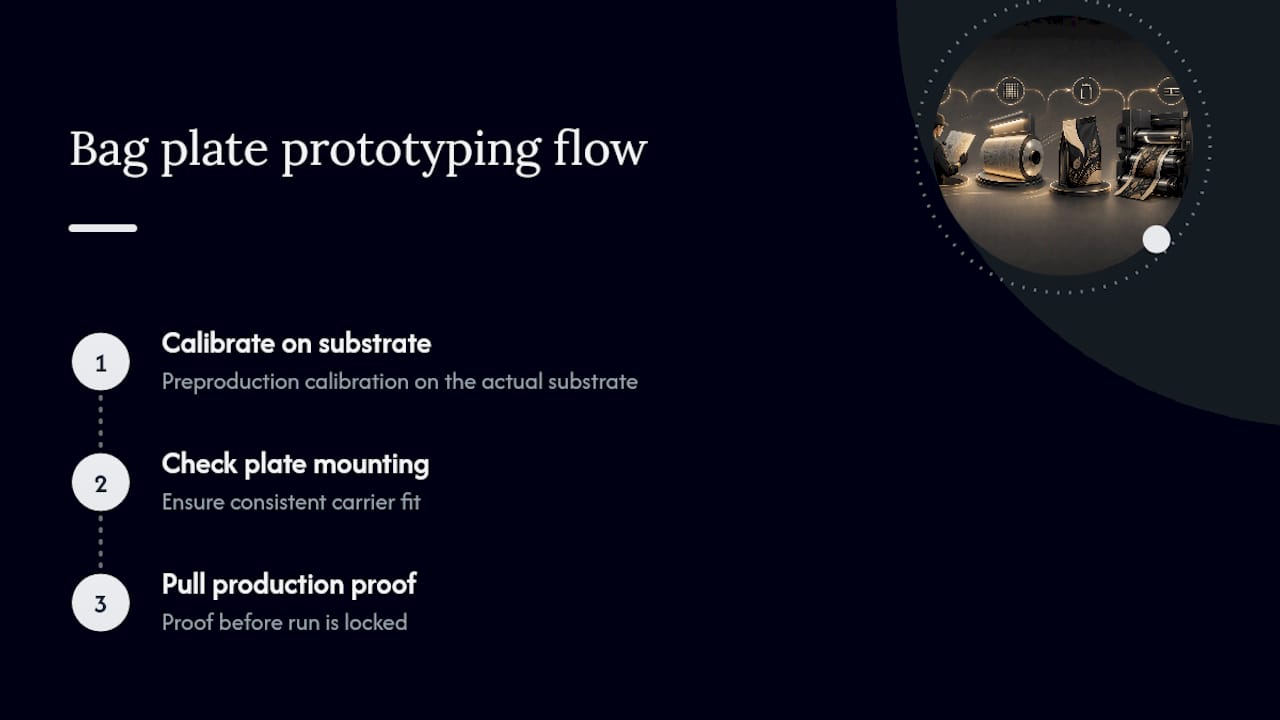
A sound prototyping flow runs preproduction calibration on the actual substrate, checks plate mounting for consistent carrier fit, and pulls a production proof before the run is locked. When you send an RFQ, specify gauge, relief depth, thickness tolerance, proof substrate, and expected run length. That level of detail is what keeps a second proof round from turning into a second invoice, and it’s the same standard our team applies across our bag printing production process.
A Production Note on Plate Selection
Common costly plate issues tend to come from using the correct gauge without clear written tolerances, leading to uncertainty when print runs have issues. Similarly, overly detailed artwork without clear specifications can cause problems. Always include acceptance criteria explicitly in the job ticket to help prevent reprint confusion and failures.
— Taylor
Ready to Lock In Your Plate Specs? Talk to Gather Packaging
Getting plate gauge and relief right on paper is one thing. Getting it right on a production run of paper shopping bags is another matter, and that’s where a domestic manufacturer with in-house prototyping earns its keep. Gatherpackaging runs preproduction calibration, mounting checks, and production proofs on your actual substrate before committing to a full order, backed by 8-color flexo printing and design assistance from concept through final proof.

If you’re specifying gauge, relief depth, and tolerance for an upcoming bag order, our team can review those specs against our press setup before you commit to a run. Explore our custom-printed kraft paper bag manufacturing and contact Gather Packaging to. Set up a proof run on your next job.
Share:
Packaging Buyers: 8 Color Flexo with CMYK plus Four Spot Stations
Canada Packaging Buyers: Cut EPR Fees with Kraft Bags by May 31, 2026