
TL;DR:
- The bag printing process involves multiple interconnected stages from customer specifications to delivery, requiring careful coordination. Structural design must account for bag features like gussets and handles to prevent printing errors and rework. Choosing the appropriate printing method depends on order volume and detail, with flexo suited for high-volume runs and digital ideal for small, quick-turnaround jobs.
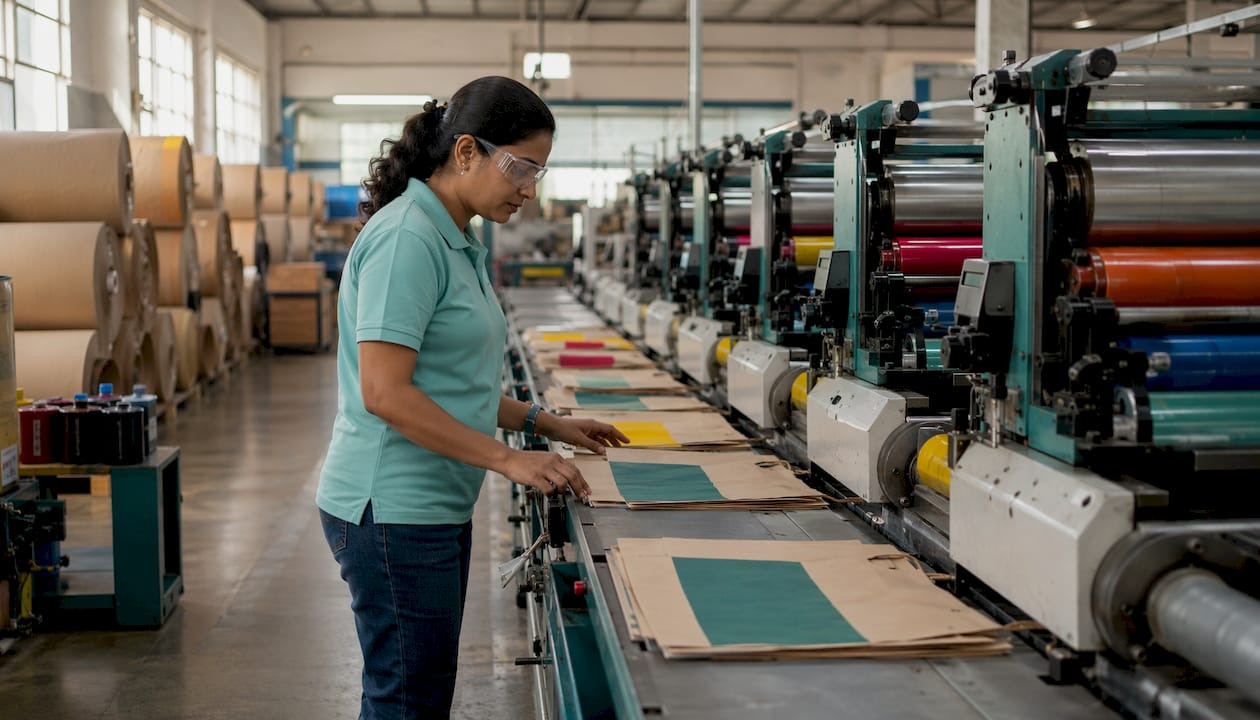
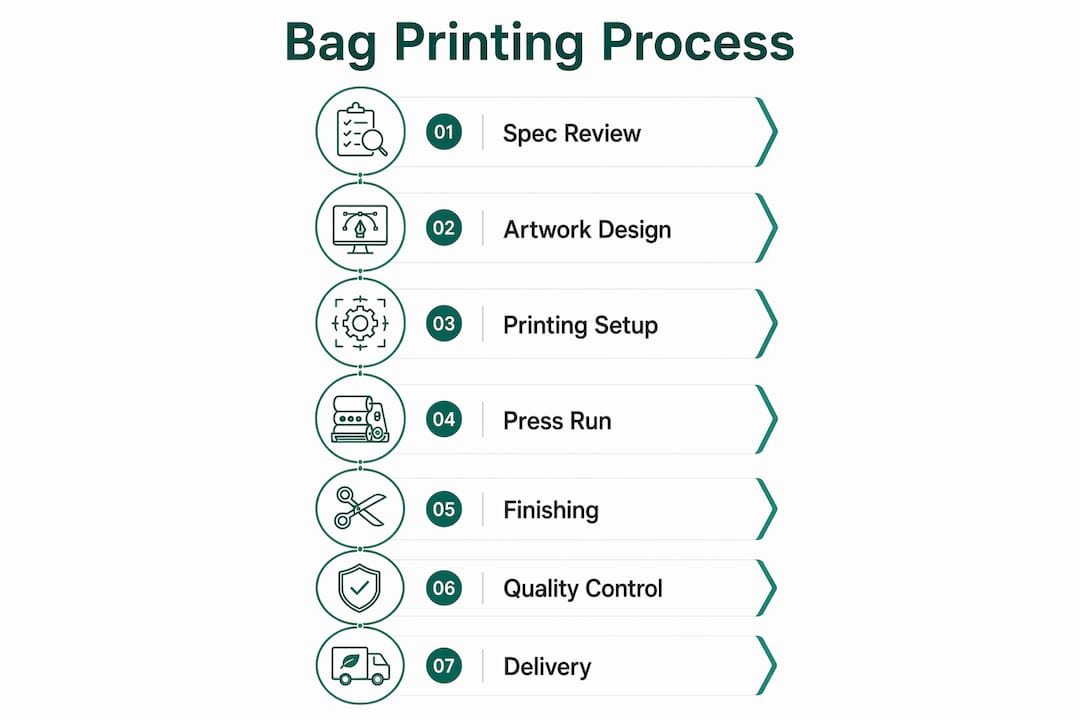
The bag printing process is an end-to-end production sequence that moves from customer specifications through design, printing, finishing, and quality control to final delivery. For paper shopping bags specifically, every stage connects to the next. A decision made during spec intake shapes what’s possible at the press, and a design that ignores bag structure will fail after folding regardless of how well it prints. Here’s how the full workflow breaks down:
- Stage 1: Receive and interpret customer specifications
- Stage 2: Design artwork with structural constraints in mind
- Stage 3: Select and execute the appropriate printing method
- Stage 4: Apply surface finishes to enhance appearance and durability
- Stage 5: Run quality control checks throughout production
- Stage 6: Manage after-sales communication and client care
Each stage carries its own failure points. Getting them right in sequence is what separates a clean production run from a costly reprint.
How customer specs set the foundation for bag printing
Every printing project starts with a specification intake, and the quality of that intake determines how smoothly everything downstream runs. Bag size, style, handle type, paper weight, print colors, and order quantity all need to be confirmed before artwork development begins. Ambiguity at this stage creates misalignment between what a brand expects and what the press can deliver.
Common inputs from buyers include:
- Bag dimensions (width, height, gusset depth)
- Handle style: flat, twisted, rope, or die-cut
- Paper grade and weight (typically 70–120 GSM for retail shopping bags)
- Color palette with Pantone or CMYK references
- Logo placement and print area boundaries
- Quantity and delivery timeline
Feasibility checks happen here too. A design with tight gradients on kraft paper may not suit flexographic printing at high volume. Budget constraints can rule out offset printing for straightforward one-color logos. Catching these conflicts during intake, rather than after plates are made, saves real money. Procurement teams and design departments need to be in the same conversation from day one, not reconciling differences after artwork is already developed.
Why bag structure must drive the design phase
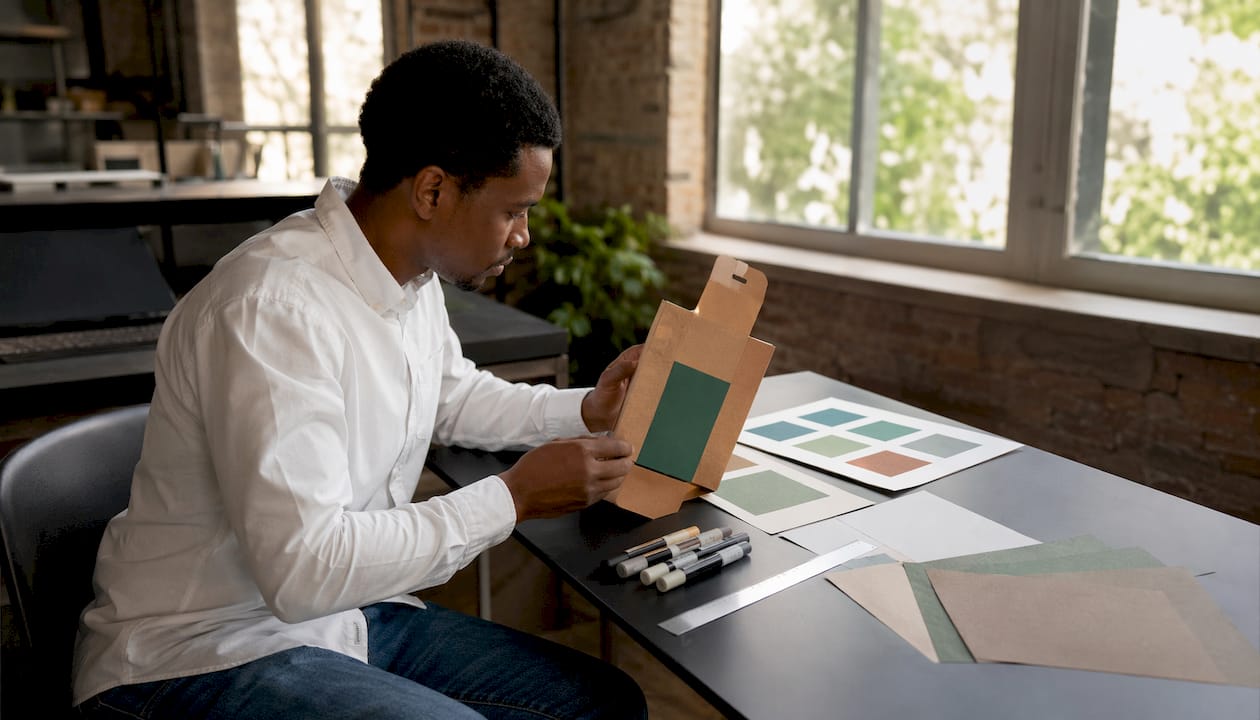
The most common cause of print errors in paper bag production is artwork that ignores the bag’s physical structure. Gussets, bottom folds, and handle attachment zones all consume surface area that looks available on a flat template but disappears once the bag is formed. A logo centered on a flat sheet can end up split across a gusset fold or partially hidden under a handle patch.
Key structural elements that must be mapped into artwork before prepress:
- Gusset fold zones: artwork placed here will be hidden or distorted on the finished bag
- Top fold margin: typically 0.375 inches of clearance required at the top edge
- Bottom panel: a separate printable zone that requires its own layout consideration
- Handle punch area: punched holes and reinforcement patches affect usable print space
- Bleed requirements: right-side bleed is typically 0.125 inches for inline flexo printing
For inline flexo production, where printing happens simultaneously with bag forming, artwork must account for bleed and fold areas that cannot be corrected after the press run. The bag height on inline templates is intentionally shorter than the finished bag dimension because the plate is designed to print the full height once tension and feed are accounted for. Designers who don’t know this produce files that look wrong on the template but are actually correct, and vice versa.
Pro Tip: Bring your production team into the design review before artwork is finalized. A five-minute structural check at the file stage costs nothing. Discovering the logo lands on a gusset fold after plates are made costs the entire plate fee and the delay.
Printing methods: which technology fits your bag
Selecting the right printing method depends on order volume, design complexity, substrate, and brand goals. Four technologies dominate paper bag production, each with a distinct cost structure and quality profile.
Flexographic printing
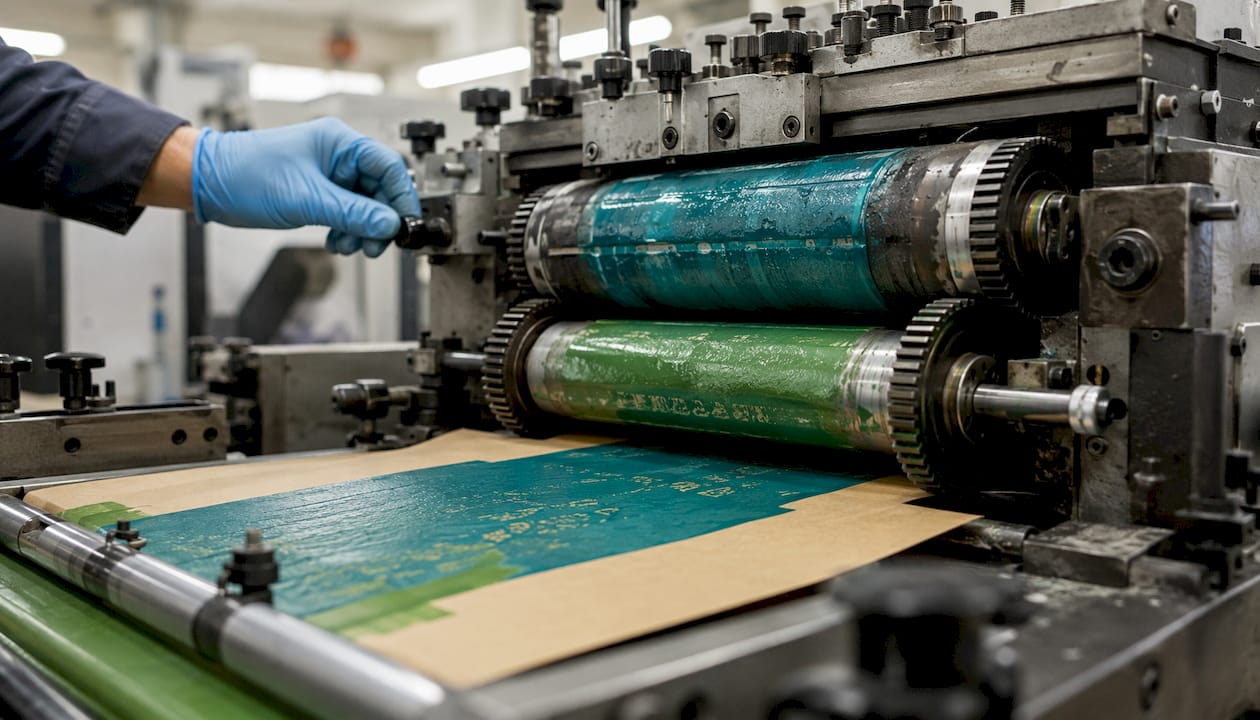
Flexographic printing (flexo) is the industry standard for high-volume paper shopping bags. Flexible photopolymer plates wrap around rotating cylinders and transfer ink directly onto the paper web at speeds of 100–350 meters per minute, making it the most economical method for large orders. Flexo presses can run 2–8 color stations in a single pass, handling both CMYK and Pantone spot colors. Water-based inks used in flexo meet ISO 2863 adhesion standards and are compatible with paper recycling requirements, which matters for food-contact and sustainability-focused programs. Gatherpackaging’s Toronto facility runs up to 8-color flexo printing inline with bag forming.
Offset printing
Offset transfers ink from an aluminum plate to a rubber blanket, then onto paper. That extra transfer step is what gives offset its edge on fine detail: small text, color gradients, and photo-realistic artwork all reproduce more cleanly than flexo can achieve on kraft or coated stock. The trade-off is process complexity. Offset typically prints on flat sheets first, which then go through lamination, cutting, folding, and gluing as separate steps. That sequence means longer lead times and higher per-unit costs, which is why offset is reserved for premium gift bags and retail packaging where visual quality justifies the investment.
Screen printing
Screen printing forces ink through a fine mesh stencil onto the bag surface. It deposits a thick ink layer (50–100 microns) that produces vivid, tactile results, particularly with metallic, UV-curable, or specialty inks that other methods can’t replicate. Screen printing costs $150–$400 per screen per color and runs at 20–50 meters per minute, making it slower and more expensive per unit than flexo. It fits best for metallic logo applications on kraft bags in the 3,000–30,000 piece range.
Digital printing
Digital printing eliminates plates entirely, making it the only practical option for runs under 3,000 pieces with full-color designs. Setup cost is effectively zero, turnaround is measured in hours rather than days, and variable data printing (unique QR codes, sequential numbering, personalized text) is possible on every single bag. Per-unit cost is the highest of any method, so digital doesn’t compete with flexo at volume. It’s the right call for sampling, limited-edition runs, and test markets.
| Method | Setup cost | Best quantity | Max colors | Lead time |
|---|---|---|---|---|
| Flexographic | Plate cost typically $150–$400 per color | Most economical for orders over 10,000 bags | 2–8 | 20–30 days |
| Offset | — | Premium retail and gift bags, higher per-unit cost | 4–8 (CMYK + PMS) | — |
| Screen | Screen cost $150–$400 per color | 3,000–30,000 pieces | 1–4 | — |
| Digital | $0 | Runs under 3,000 pieces | Full CMYK | — |
Surface finishing options that change how a bag feels and reads
Finishing is where a printed bag becomes a branded object. The right finish can make a kraft shopping bag feel like a luxury purchase. The wrong one adds cost without adding perceived value.
- Lamination: a thin film bonded to the printed surface protects against scuffing and moisture. Matte lamination softens the look; gloss lamination intensifies color. Both add structural rigidity, which helps bags hold their shape under load.
- UV coating: a liquid coating cured under ultraviolet light creates a hard, glossy surface. Spot UV, applied only to selected areas like a logo, creates contrast between coated and uncoated zones that draws the eye without covering the whole bag.
- Foil stamping: heat and pressure bond a metallic foil film to the paper surface through a custom die. Gold and silver are most common, but rose gold, copper, holographic, and matte black foils are all available. Foil works best on logos, brand names, and short text with sufficient line thickness. Very fine letterforms don’t stamp cleanly.
- Embossing: a male and female mold presses the paper to create a raised three-dimensional surface. Used alone, it produces a quiet, tactile elegance. Combined with foil stamping, the logo becomes both raised and reflective. Embossing requires thicker paper stock and a custom mold, which adds cost and lead time. For a premium retail bag, the tactile result justifies both.
Finishing decisions also affect the production sequence. Lamination must cure before die-cutting. Foil stamping and embossing happen after printing but before handle attachment. Missequencing these steps creates defects that can’t be corrected without scrapping finished bags.
Quality control protocols that protect print consistency
Quality control in bag printing starts before the press runs, not after the finished bags are inspected. Pre-production checks cover design alignment against the physical bag structure, color consistency verification, and ink adhesion confirmation on the specific paper grade being used. A bag that passes these checks before full production begins is far less likely to generate a reprint.
During the press run, continuous monitoring catches problems that a good first sheet won’t reveal. Printing drift during long runs is common; mechanical tension changes gradually shift registration as the run progresses. Operators conduct hourly color and registration checks to catch drift before it affects a significant portion of the order. Trusting the initial approved sheet and walking away from the press is how color inconsistency and off-register logos end up in finished cartons.
Post-production inspection covers:
- Dimensional accuracy: width, height, gusset, and bottom fold within approved tolerances
- Print fidelity: logo sharpness, color match against the approved standard, edge cleanliness
- Structural integrity: glue bond strength at the bottom seam, handle attachment durability under load
- Surface finish quality: lamination adhesion, foil bond, emboss depth and definition
- Handle balance: consistent positioning across the batch, no skew or height variation
For standard work in manufacturing, documented inspection protocols at each stage reduce variability and give procurement teams a traceable quality record. Batch color deviation is one of the most common quality failures in paper bag production, and it’s almost always caused by skipping mid-run calibration rather than a problem with the initial setup.
After-sales care and what it means for repeat orders
The production run ending doesn’t close the project. How a manufacturer handles the period between delivery and the next order determines whether a client relationship becomes a long-term supply partnership or a one-time transaction.
Sample approval is the first checkpoint. Before a full production run releases, a pre-production sample confirms that color, structure, print position, and finish all match the approved specification. Buyers who skip this step to save time often spend more time managing reprints. For new OEM projects especially, the sample stage is where structural and print variables get locked in.
After delivery, responsive communication matters on several fronts:
- Feedback on production quality: buyers should be able to flag any discrepancies against the approved standard promptly, with a clear process for resolution
- Reprint and replacement protocols: when a quality issue is confirmed, the path to correction should be defined in advance, not negotiated after the fact
- Inventory and reorder planning: for retail operations running seasonal programs, knowing lead times and minimum order quantities well ahead of the next cycle prevents stock gaps
- Delivery documentation: carton counts, packing specifications, and shipment records should be accurate and accessible for receiving teams
Building a reliable supply relationship with a domestic manufacturer like Gatherpackaging reduces the variables that create after-sales problems in the first place. Shorter shipping distances mean faster response when something needs to be corrected, and consistent production standards across runs make repeat orders predictable rather than a fresh negotiation each time.
Ready to discuss your bag printing project?
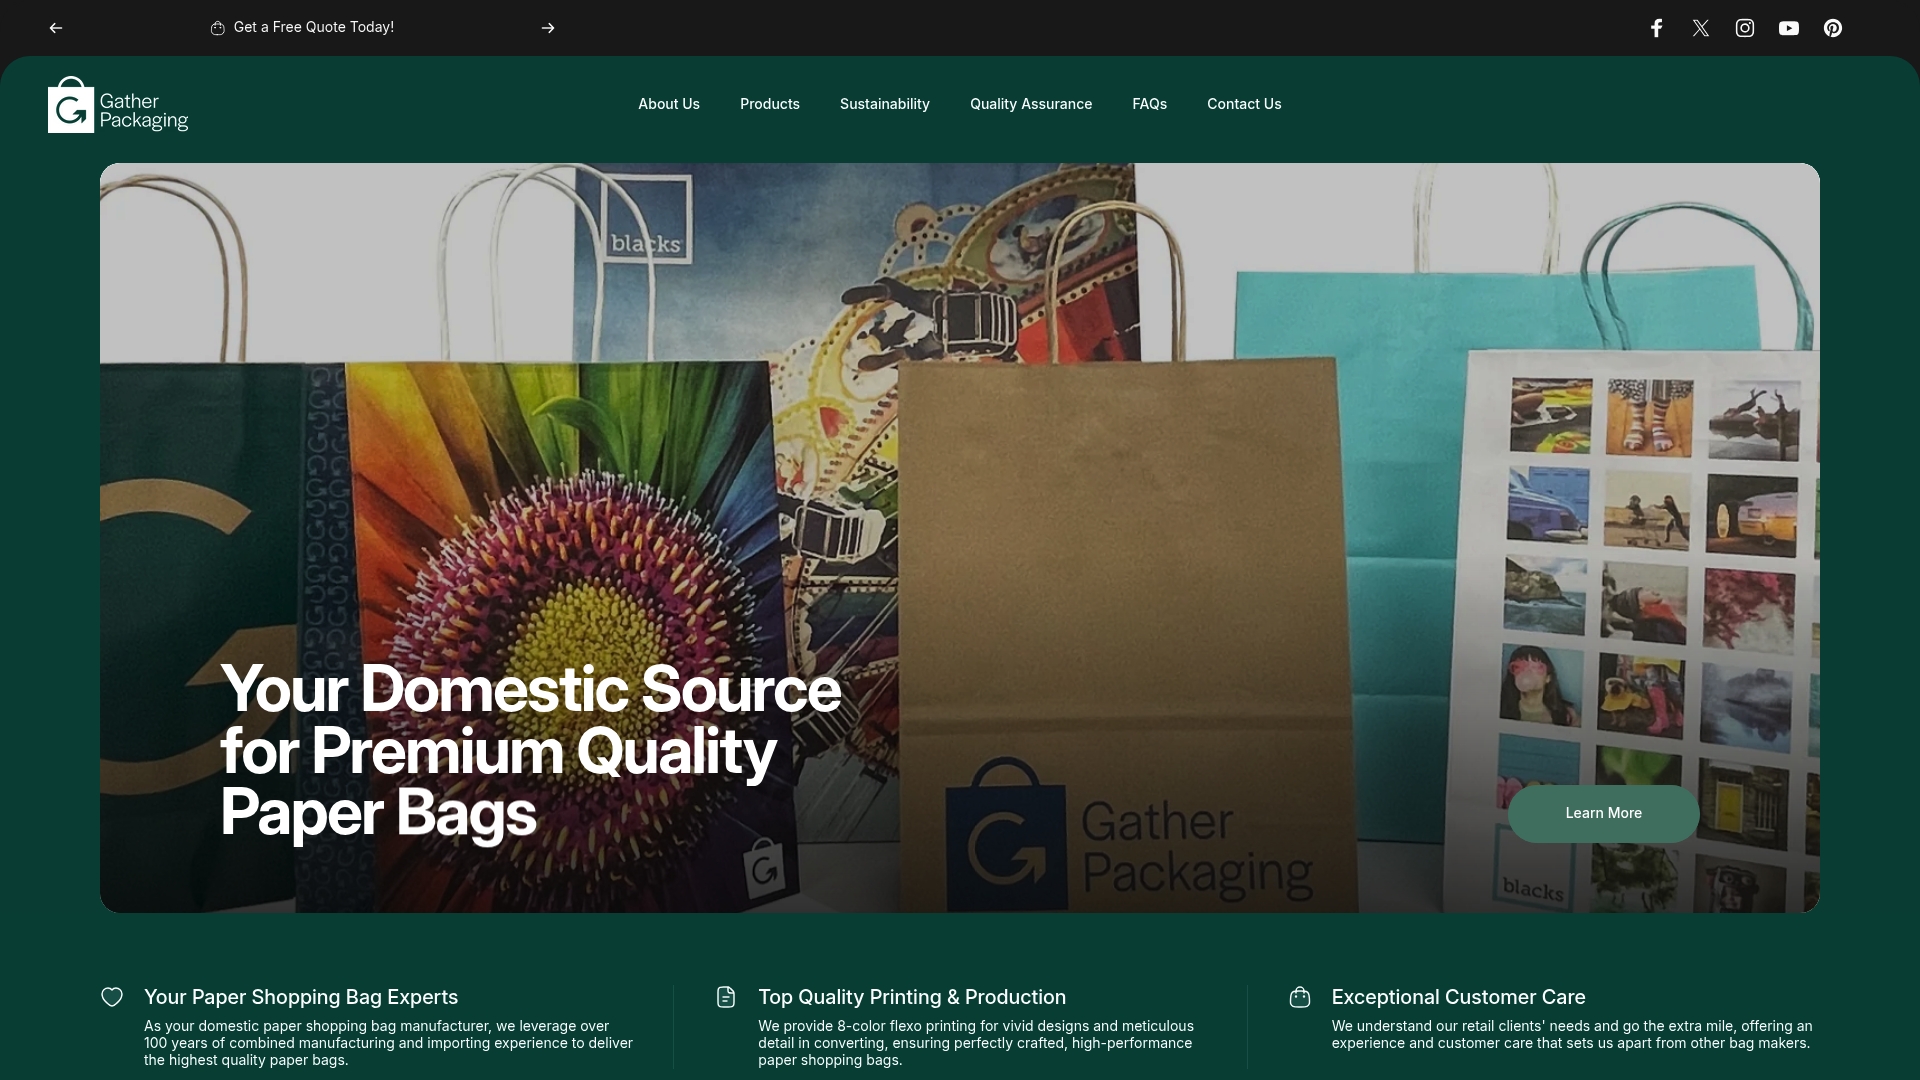
Gatherpackaging manufactures custom printed paper bags in Toronto, Canada, with up to 8-color flexo printing, FSC-certified materials, and water-based inks. Whether you’re sourcing retail shopping bags, takeout delivery bags, or specialty packaging, the team can walk you through method selection, structural design review, and quality assurance from spec to delivery. Explore Gatherpackaging’s sustainable bag options or contact the team directly to discuss your production requirements.
Key Takeaways
The bag printing process works only when each stage, from spec intake to post-delivery support, connects deliberately to the next.
| Point | Details |
|---|---|
| Structural design errors are the top failure cause | Artwork that ignores gussets, handle patches, and fold zones produces unusable bags after forming. |
| Flexo dominates high-volume paper bag production | Flexo is most economical for orders over 10,000 bags, running at speeds of 100–350 meters per minute. |
| Method selection drives cost and quality | Flexo suits simple large runs; offset fits premium detail work; digital is suited for short runs under 3,000 pieces. |
| Quality control must run continuously, not just at the start | Registration drift during long runs requires hourly checks to maintain color and position consistency. |
| Pre-production samples prevent costly reprints | Locking color, structure, and print position before full production begins reduces reprint risk on new OEM projects. |
Share:
What Is End-of-Life Packaging? A Brand Manager's Guide
Top Retail Packaging Mistakes That Cost You Sales