

TL;DR:
- Packaging prototyping involves creating physical and digital models to verify design and functionality before mass production. It helps brands to identify structural, graphic, and functional flaws early, reducing costly errors and delays. Following a hierarchical process from digital concepts to final pre-production samples ensures efficient validation and faster approval times.
The packaging prototyping process is the sequence of creating and refining physical and digital models to test and validate packaging design and functionality before mass production. For product developers and brand managers, this process is not a formality. It is the primary mechanism for catching structural failures, misaligned graphics, and poor fit before a single production run begins. Leading CPG firms produce over 76,000 physical comps annually to validate packaging before retail presentations. That volume reflects how seriously high-performing brands treat prototype testing as a core quality assurance step, not an afterthought.
What does the packaging prototyping process require to start?
Effective packaging prototyping begins with the right tools, materials, and planning. Skipping this foundation leads to wasted samples and revision cycles that push back launch timelines.
Essential tools and materials
The standard toolkit for packaging prototyping includes dielines, CAD software, digital rendering tools, and physical prototyping equipment such as die-cutting machines and scoring tools. For paper shopping bags and retail packaging specifically, material selection matters from the start. Common choices include kraft paper, recycled paperboard stocks, and coated sheets that replicate the finish of a final production bag.
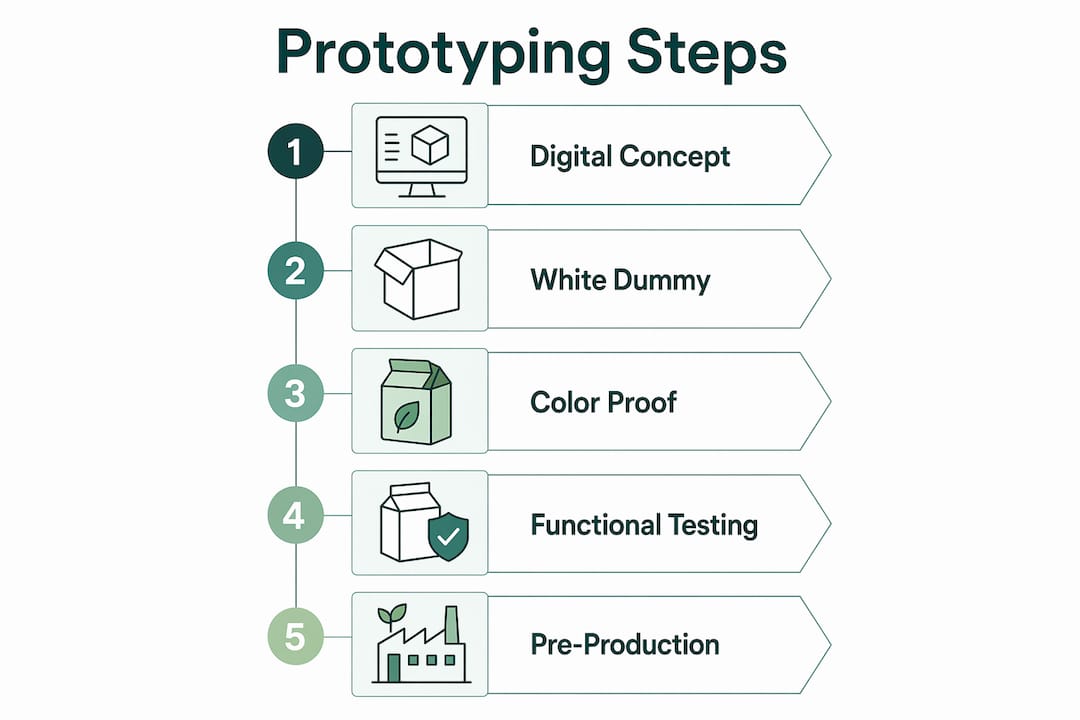
Prototype fidelity follows a clear hierarchy:
- White dummies: Unprinted structural models used to validate size, folding, closure, and handle attachment
- Color proofs: Printed samples that test artwork placement, color accuracy, and material finish
- Pre-production samples: Full-specification samples that mirror the final product for manufacturing sign-off
Each level serves a distinct purpose. Advancing too quickly to color proofs before confirming structure locks in flawed designs and increases cost.
The design brief as a prerequisite
A complete design brief is the single most important document before prototyping begins. Ambiguous design briefs cause unnecessary rounds of sample revisions. A precise brief that defines product dimensions, weight, material preferences, print requirements, and regulatory considerations gives your supplier a clear target from day one. Gatherpackaging’s guide on eco-friendly packaging workflows outlines how thorough briefs reduce revision cycles in manufacturing.
Pro Tip: Build your design brief before requesting any samples. Include handle type, bag dimensions, print color count, and material weight. A supplier who receives this detail upfront will return a more accurate first prototype.
| Prerequisite | Why it matters |
|---|---|
| Defined product specs | Sets size, weight, and structural requirements for the white dummy stage |
| Material selection | Determines which paper stocks and coatings are tested in early samples |
| Regulatory compliance | Flags FSC® certification or recycled content requirements before production |
| Launch timeline | Drives the number of prototype iterations the schedule can support |
| Print requirements | Informs color proof complexity and press-ready approval needs |
How does the step-by-step packaging prototyping process work?
The prototyping workflow moves through distinct stages. Each stage answers a specific question before the next begins.
Stage 1: Digital concept exploration
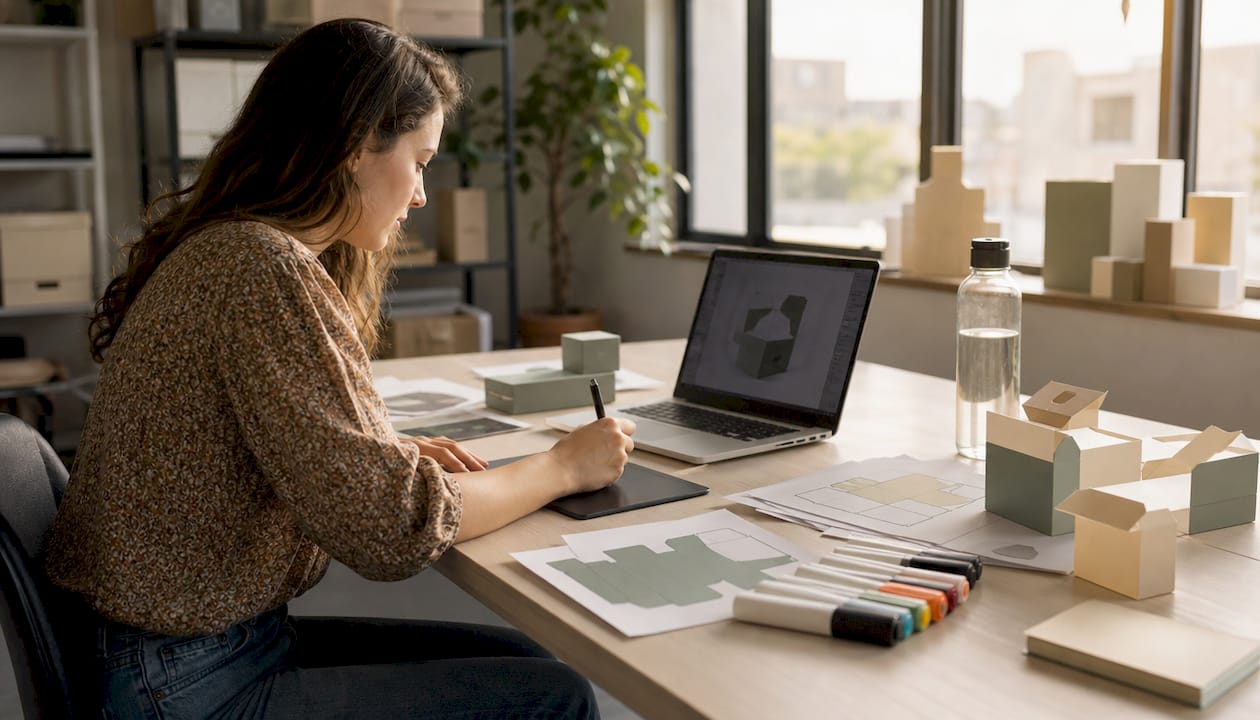
Start with digital prototypes. CAD software and 3D rendering tools let you explore multiple structural and graphic concepts quickly without cutting a single sheet of paper. Digital prototypes enable unlimited iterations at low cost, making them the right tool for early design decisions. Use this stage to finalize the dieline, confirm proportions, and test label placement before committing to physical materials.
Stage 2: White dummy structural validation
Once the digital concept is approved internally, produce a white dummy. This is an unprinted physical model built from the actual dieline using production-weight paper. The white dummy answers structural questions: Does the bag hold its shape under load? Does the handle attachment point hold? Does the closure fold cleanly? These questions cannot be answered on a screen.
Skipping structural validation and rushing to printed samples often locks in flawed designs, increasing risk and cost. A white dummy costs a fraction of a color proof and can prevent weeks of redesign.
Stage 3: Color proof and artwork validation
After structure is confirmed, advance to a color proof. This printed sample tests artwork placement, color accuracy under retail lighting, and the visual effect of the chosen paper stock and coating. For paper shopping bags with 8-color flexo printing, this stage is where ink density, registration, and finish are evaluated side by side with the approved design file.
Pro Tip: Evaluate color proofs under the same lighting conditions your bags will appear in at retail. A bag that looks correct under studio lighting may read differently under fluorescent store fixtures.
Stage 4: Functional and journey testing
Functional testing is where prototypes face real-world conditions. Journey testing including drop simulations and shipping trials validates durability through real-world distribution stresses. For retail shopping bags, this means loading the bag to its stated weight capacity, dropping it from a standard height, and checking handle seams, bottom gussets, and side folds for failure points.
Compression testing matters for stacked storage scenarios. E-commerce shipment simulation matters if the bags will be shipped flat in bulk to retail locations. Each test type reveals a different failure mode.
Stage 5: Pre-production sample and sign-off
The final prototype is a pre-production sample built to full production specifications. This sample goes through a formal approval process involving the brand team, procurement, and the manufacturer. No production run begins without written sign-off on this sample. Gatherpackaging’s resource on packaging mockups and approvals explains how physical samples align stakeholders and accelerate this final approval stage.
Why does rapid prototyping matter in packaging development?
Rapid prototyping in packaging is the practice of moving through prototype iterations quickly to reduce the time between concept and validated design. The strategic value is straightforward: problems found during prototyping cost a fraction of what they cost to fix after production begins.
Physical prototypes resolve debates that digital renders cannot. They allow ergonomic assessment, scale verification, and color accuracy evaluation under real lighting conditions. A physical sample changes the decision dynamic in a room, aligning stakeholders faster and with more confidence than any screen-based presentation.
— Physical Comps vs. Digital Prototypes
The most common mistake brands make is treating prototyping as a single event rather than an iterative sequence. Producing a color proof before validating structure is a predictable source of expensive rework. Relying solely on digital renders for final approval is another. Physical samples reveal panel buckling, seal failures, and critical artwork misplacements that screen-based models miss entirely.
The right sequence is digital first for speed, then physical for commitment. Digital prototypes handle exploration. Physical prototypes handle validation and sign-off. Brands that follow this sequence move faster and spend less on late-stage corrections.
- Rapid iteration on digital prototypes reduces material waste in early stages
- Physical white dummies catch structural failures before artwork investment
- Color proofs prevent press-check surprises and reprint costs
- Journey testing prevents product damage claims and retailer chargebacks
- Pre-production sign-off creates a documented quality benchmark for the production run
What are the most common packaging prototyping challenges?
Prototyping surfaces problems. That is its purpose. But certain problems appear repeatedly across paper shopping bag and retail packaging projects, and knowing them in advance saves time.
Physical samples reveal structural failures that digital evaluation misses, including panel buckling and closure weakness. For paper shopping bags, the most frequent failure points are handle attachment seams, bottom gusset folds under load, and side panel integrity when the bag is carried at capacity. These failures show up in white dummy testing, not at the press check.
Graphic misalignment is the most common color proof issue. Artwork that looks centered in a flat design file often shifts when the bag is folded and the gussets are formed. Testing the color proof in its assembled, three-dimensional form catches this before plates are made.
Pro Tip: Limit physical sample production at the white dummy stage. Produce two or three dummies to validate structure, not ten. Overproducing early-stage samples wastes material and creates confusion when multiple versions circulate for feedback.
Communication gaps between brand teams and suppliers cause the most timeline damage. Vague feedback like “the color looks off” delays resolution. Specific feedback like “the PMS 286 blue is printing 15% lighter than the approved swatch” gives the supplier a clear correction target. Gatherpackaging’s supplier communication guide covers the questions that reduce revision cycles before sampling begins.
Planning sampling during quotation and sequencing approvals carefully avoids costly late-stage production errors. Build prototype milestones into your project timeline from the start. Treat each approval stage as a gate, not a suggestion.
Key Takeaways
The packaging prototyping process works because it catches structural, graphic, and functional failures at the lowest possible cost, before production begins.
| Point | Details |
|---|---|
| Follow the fidelity hierarchy | Progress from white dummies to color proofs to pre-production samples in sequence. |
| Start with a complete design brief | A precise brief reduces revision cycles and gives suppliers a clear target from day one. |
| Use digital prototypes for speed | Digital tools handle early exploration cheaply; physical samples handle final validation. |
| Test under real conditions | Journey testing including drop and compression tests reveals failures that shelf testing misses. |
| Build prototype gates into your timeline | Treat each approval stage as a required milestone, not an optional checkpoint. |
Why I think brands underestimate the physical prototype
Most brands I’ve worked with treat prototyping as a box to check before production. They approve a digital render, request one color proof, and push to production. That sequence skips the most valuable stage: structural validation with a white dummy.
Paper shopping bags fail in predictable ways. Handle seams pull away from the bag body. Bottom gussets collapse under load. Side panels buckle when the bag is filled to capacity. None of these failures show up in a 3D render. All of them show up in a white dummy that costs almost nothing to produce.
The other pattern I see is brands producing too many early-stage samples. Ten white dummies circulating across three departments creates version confusion and slows decisions. Two dummies, one clear feedback round, and a documented approval move faster every time.
Physical prototypes also do something digital renders cannot: they change the energy in a stakeholder meeting. A buyer who holds a bag, loads it, and carries it across a room makes a faster, more confident decision than one who clicks through a slide deck. That is not a soft benefit. It is a measurable reduction in approval time.
Treat prototyping as a strategic asset, not a production formality. The brands that do consistently launch with fewer surprises and lower rework costs.
— Taylor
Gatherpackaging’s approach to prototyping and production
Gatherpackaging manufactures custom paper shopping bags in Toronto, Canada, with prototyping and quality assurance built into every project from the start.
Gatherpackaging’s domestic manufacturing means shorter lead times between prototype approval and production start. The team works with FSC®-certified materials, recycled content stocks, and water-based inks, so the material you test in your prototype is the material that goes into production. For brands that need custom paper shopping bags with reliable quality and dependable supply, Gatherpackaging handles design assistance, sampling, and full production runs from a single facility. Contact Gatherpackaging to discuss your paper shopping bag prototyping and production requirements.
FAQ
What is packaging prototyping?
Packaging prototyping is the process of creating physical and digital models to test and validate packaging design, structure, and functionality before mass production begins.
Why should brands test packaging prototypes before production?
Physical prototypes reveal structural failures, graphic misalignments, and functional weaknesses that digital renders miss, preventing costly redesigns after production starts.
What is the correct order for the packaging prototyping process?
The process follows a fidelity hierarchy: white structural dummies first, then color proofs for artwork validation, then pre-production samples for final manufacturing sign-off.
What does journey testing mean in packaging?
Journey testing replicates real-world distribution stresses including drop simulations, compression tests, and shipment trials to confirm that packaging survives the full supply chain.
How does a complete design brief affect prototyping?
A precise design brief that defines dimensions, materials, print requirements, and regulatory needs reduces revision cycles and improves first-sample accuracy from the supplier.
Share:
The Role of Innovation in Bag Design: 2026 Guide
Creative Shopper Bag Uses: 10 Ideas That Actually Work