
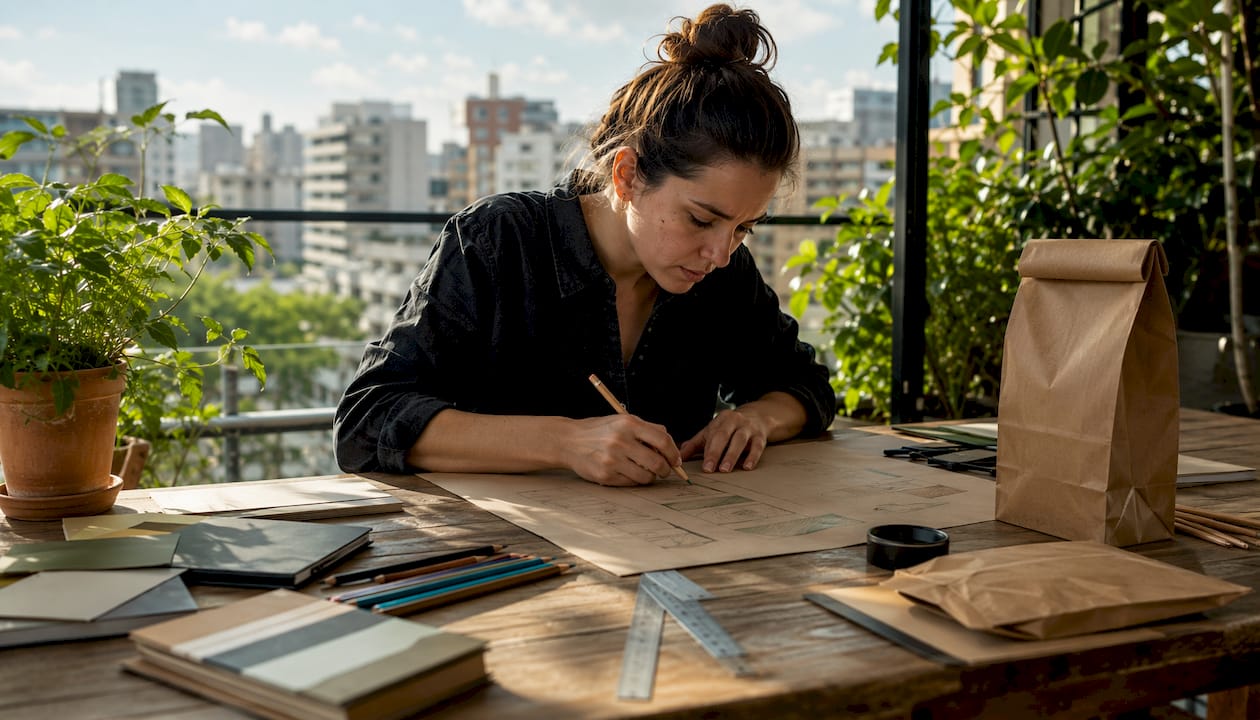
TL;DR:
- A production-ready turn-top bag design requires precise turnover depth, appropriate GSM, and flexo-safe artwork files.
- Prototypes must be physically tested for handle stress, ink color, and construction integrity to prevent costly reprints.
A production-ready turn-top bag design combines a measured turnover depth, a reinforced rim, paper GSM matched to your product weight, and flexo-friendly artwork files. Hand those four elements to your manufacturer and you can move directly to prototyping.
Four measurements every manufacturer needs from you:
- Turnover depth: a measured range set parallel to the top edge for uniform rim strength
- Rim reinforcement type: cardboard insert or patch board under the turnover
- Paper GSM: matched to your intended load (see Section 3)
- Handle attachment specification: style, attachment method, and hole or slot dimensions
Three-step handoff to Gatherpackaging:
- Confirm your bag’s purpose and maximum product weight.
- Send your layout file with dieline, bleed, Pantone callouts, and physical specs.
- Request a physical prototype before authorizing full production.
Table of Contents
- What does the full turn-top bag design process look like?
- How do you choose the right paper stock, GSM, and handle for a turn-top bag?
- What artwork rules matter most for kraft stock and flexo printing?
- How do you prototype, test, and formally approve turn-top bag samples?
- What lead times, MOQs, and sustainability documents should you plan for?
- Manufacturer-ready spec checklist for turn-top bags
- Key Takeaways
- Why getting the specs right before production matters more than most buyers expect
- Gatherpackaging’s turn-top bag services, from spec to production
- Useful sources and resources
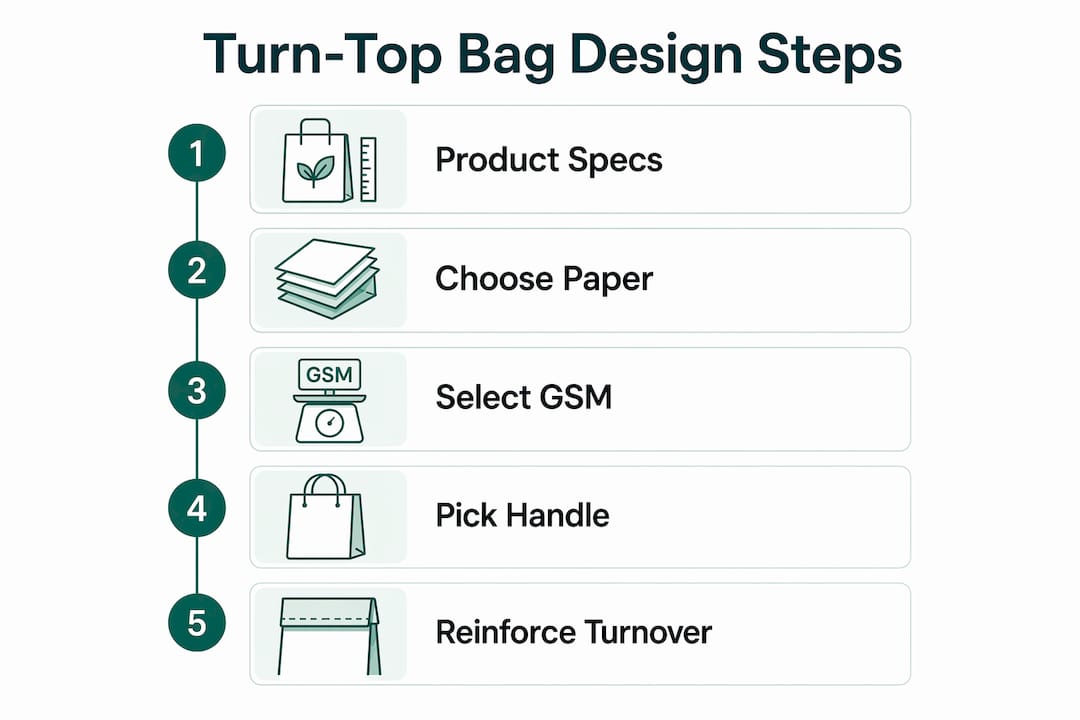
What does the full turn-top bag design process look like?
The design-to-production journey follows a clear sequence. Skipping steps costs money; compressing them without a prototype costs more.
- Define purpose and use case. Apparel? Gift retail? Food takeout? The answer drives every downstream decision, from GSM to handle style.
- Select materials and GSM. Match paper weight to your product’s load requirements (see Section 3).
- Choose base style and handle type. Square/block bottoms for stability; handle style based on brand positioning and weight.
- Prepare artwork using the manufacturer’s dieline template. Never build art on a blank canvas.
- Review 3D digital mockups. Confirm color placement, turnover messaging, and handle position before cutting plates.
- Produce a physical prototype. This is non-negotiable. Digital mockups miss handle stress, real ink color on kraft, and glue behavior.
- Run QA tests. Dimensional check, handle pull, load trial, print registration review.
- Approve sample and schedule production. Sign off in writing with sample ID and spec confirmation.
You supply: finished product dimensions, maximum product weight, brand assets in vector format, and Pantone references. Gatherpackaging supplies the dieline template, 3D mockup, prototype, and QA report.
Pro Tip: Choosing a standard bag size rather than a custom dimension at Step 1 can meaningfully reduce tooling costs and shorten your lead time. Custom sizing requires new dielines and sometimes new tooling — reserve it for cases where standard sizes genuinely don’t fit your product.
How do you choose the right paper stock, GSM, and handle for a turn-top bag?
Paper weight is the single biggest structural variable in a turn-top bag. Get it wrong and the bag fails in the customer’s hand, not in your QA lab.
Typical paper weights vary by use case, with lightweight stocks for apparel and heavier stocks for premium goods, matched to handle type and reinforcement.
Square/block bottoms are engineered to stand upright and support roughly 3–10 kg depending on GSM and reinforcements. V-fold bottoms are lighter and cheaper but sacrifice stability and load capacity. For any product over roughly 1 kg, a square bottom is the right call.
Handle options compatible with turn-top constructions:
- Twisted paper handles: cost-effective, suitable for lighter loads, attached via glued tab or punch-and-knot
- Cotton or rope handles: premium feel, higher load rating, requires reinforced punch and board backing
- Ribbon handles: boutique positioning, lower load capacity, glued tab attachment
- Flat paper handles: clean modern look, patch-glued at the turnover zone
The turnover itself conceals the handle attachment area and the reinforcement board beneath it. That board is what distributes handle stress across the rim rather than concentrating it at two punch points.
Pro Tip: When specifying FSC-certified or recycled-content paper, note the certification number and chain-of-custody code directly in your purchase order. This makes it straightforward to pull documentation for brand sustainability reports or retail partner audits later.
What artwork rules matter most for kraft stock and flexo printing?
Design for flexo on kraft by leading with bold solids, high-contrast palettes, and limited halftones. That’s not an aesthetic preference; it’s a production constraint.

Flexo in-line processes commonly use 45–55 lpi screen rulings, which limits fine-tone reproduction. Gradients and photographic images that look sharp in a PDF will print as visible dot patterns on press. Kraft’s natural brown also shifts lighter ink colors, so designing for kraft means treating the substrate color as part of your palette rather than fighting it.
Flexo minimums to build into your file:
- Minimum positive line width: approximately 2 pt
- Minimum reverse (knockout) line width: approximately 3 pt
- Bleed: follow the manufacturer’s dieline exactly; typically 3–5 mm
- Cutback from fold and cut lines: keep live art clear of fold zones to avoid design loss during forming
Do-not-do checklist:
- No fine gradients or vignettes in key brand elements
- No small serif type (under 14 pt) in reverse/knockout
- No critical art placed on or near the turnover fold line without a physical proof
- No RGB files submitted for production
Technical file checklist before submission:
- All colors called out as Pantone (PMS) or CMYK; no RGB
- Fonts converted to outlines or embedded
- Linked assets flattened; layers merged
- Correct dieline on a separate, non-printing layer
- Bleed and safe area confirmed against manufacturer’s template
The turnover area is prime branding real estate at no extra print cost. Many brands place reuse reminders, a hashtag, or a short brand message there. Just keep type large enough to survive flexo registration drift.
Light inks on kraft (white, cream, pale yellow) require extra ink passes for opacity. Budget for this in your color count and confirm with your rep whether it affects your per-unit cost.
Finishing options and compatibility: foil stamping and embossing are compatible with turn-top constructions but require separate die tooling and add 1–2 weeks to lead time. Spot UV works on coated stocks; confirm compatibility with your chosen paper before specifying it.
Pro Tip: Always request a physical press proof or a wet proof on your actual substrate before approving a full run. Digital color proofs on coated paper do not predict how ink will look on kraft.
How do you prototype, test, and formally approve turn-top bag samples?
Physical prototypes catch issues that digital mockups simply cannot: handle stress under real load, actual ink color on your chosen kraft, and glue migration at the turnover seam. Require at least one physical sample before any production authorization.
Sample QA checklist:
- Dimensional check: L × W × H within ±2 mm of spec
- Turnover depth: measured at four corners; uniform within ±1 mm
- Glue coverage: no gaps, no squeeze-out beyond 2 mm
- Handle pull test: apply load equal to 1.5× the stated maximum product weight; hold for 30 seconds
- Weight/load trial: fill bag with actual or simulated product weight; carry for 60 seconds; inspect seams and handle attachment
- Print registration: check against approved color proof; maximum drift ±1 mm
- Seam and adhesion inspection: no delamination, no open seams at base or gusset
Sample approval template fields:
| Field | Entry |
|---|---|
| Decision | Approved / Conditional / Reject |
Acceptable tolerances: ±2 mm on dimensions, ±1 mm on print registration. If a sample fails the handle pull or load trial, request a revised prototype with updated reinforcement before proceeding.
Pro Tip: During full production, ask your manufacturer to pull a small random batch from mid-run for a quick dimensional and adhesion check. Production drift is real, and catching it at 10,000 units is far less costly than catching it at 50,000.
What lead times, MOQs, and sustainability documents should you plan for?
Domestic manufacturing in Toronto gives Gatherpackaging a real scheduling advantage over overseas suppliers. Prototype turnaround time is typically faster than import lead times alone.
Lead time and MOQ considerations:
- Prototype turnaround: faster when standard sizes and stock papers are used; custom sizes and specialty finishes add time
- Full production lead time: longer for runs with foil, emboss, or multi-color specialty finishes; confirm with your rep at quoting
- Minimum order quantities vary by construction and finish; standard turn-top bags in stock GSM carry lower MOQs than custom-sized or heavily finished runs
- Foil stamping and embossing add tooling time and typically require higher MOQs
Packing and shipping:
- Turn-top bags should be packed flat with rims protected; crushed turnover edges are a common transit defect
- Inner cartons and pallet configuration should be confirmed before shipment
- Request a packing list that matches carton count to unit count
Sustainability documentation to request at order:
- FSC chain-of-custody certificate (with certificate number)
- Confirmation of water-based inks in writing
- Material safety data sheet (SDS) for adhesives if required by your retail partner
Milestone dates to track: art approval → prototype sign-off → press start → mid-run QA pull → ship date → delivery.
Pro Tip: Consolidating multiple SKUs into a single production run, using the same paper stock and finish across sizes, cuts per-unit cost and shortens scheduling gaps between runs.
Manufacturer-ready spec checklist for turn-top bags
Hand this checklist to your sales rep to get a fast, accurate quote with no back-and-forth.
File specification table:
| Spec Item | Requirement |
|---|---|
| Dieline format | AI or PDF, dieline on separate non-printing layer |
| Bleed | Per manufacturer’s template (typically 3–5 mm) |
| Safe area | Keep live art 5 mm inside cut line |
| Color mode | CMYK + Pantone spot colors; no RGB |
| Permitted file types | AI, PDF/X-1a, EPS |
| Pantone callouts | All spot colors named by PMS number |
| Fonts | Converted to outlines or fully embedded |
| Linked assets | Embedded or packaged with file |
Physical spec items to include:
- Bag dimensions: L × W × H in millimeters
- Turnover depth: target mm (30–50 mm range)
- Reinforcement type: cardboard insert, patch board, or none
- Intended maximum load in kg
- Handle style and attachment method
- Paper GSM and stock type (FSC kraft, coated, recycled content)
- Finish options: none, foil, emboss, spot UV
- Required certifications: FSC, water-based inks
Key Takeaways
A production-ready turn-top bag requires confirmed turnover depth, GSM matched to load, flexo-safe artwork, a physical prototype, and documented sustainability credentials before production begins.
| Point | Details |
|---|---|
| Turnover depth and reinforcement | Specify 30–50 mm turnover depth with a cardboard insert or patch board under the rim. |
| Match GSM to load | Match paper weight to your product’s load requirements (see Section 3). |
| Physical prototype required | Digital mockups don’t catch handle stress or real ink color on kraft; always approve a physical sample first. |
| Flexo-friendly artwork | Use bold solids, minimum 2 pt positive lines, Pantone callouts, and keep art clear of fold zones. |
| Sustainability documentation | Request FSC certificate number and written confirmation of water-based inks at time of order. |
| Gatherpackaging | Offers domestic prototyping, 8-color flexo printing, FSC materials, and end-to-end QA from Toronto. |
Why getting the specs right before production matters more than most buyers expect
The brands that run into costly reprints and delayed launches almost always share one thing: they treated the prototype stage as optional. A physical sample isn’t a formality. It’s the only moment in the process where you can hold the bag, load it, pull the handles, and see what your ink actually looks like on kraft rather than on a calibrated monitor.
The other underestimated decision is GSM selection. Buyers often default to a lighter stock to save cost per unit, then discover the bag fails a load trial or the rim collapses after one carry. Matching GSM to your actual product weight, not a general category, is where structural reliability is built or lost.
Domestic manufacturing shortens the feedback loop on both of these. When your prototype comes back in days rather than weeks, you can iterate before committing to a full run. That speed is a real operational advantage for retail brands working against seasonal or launch deadlines.
Gatherpackaging’s turn-top bag services, from spec to production
Gatherpackaging manufactures custom turn-top paper bags domestically in Toronto, which means prototype turnaround is faster than overseas alternatives and quality issues get resolved before they become production problems. The full service covers design assistance and dieline templates, 3D digital mockups, physical prototyping, flexo printing up to 8 colors, mid-run QA pulls, and complete sustainability documentation including FSC chain-of-custody certificates and water-based ink confirmation.
If you have a turn-top bag project in development, contact Gatherpackaging with your product dimensions, maximum load, and any existing brand assets. The team will review your spec sheet, confirm material and GSM recommendations, and schedule a prototype run so you can approve a physical sample before committing to full production.
Useful sources and resources
- In-line Flexo Printing Guidelines — minimum line widths, screen rulings, and cutback rules for paper bag flexo production
- Flexographic Printing File Prep — complete prepress workflow from design constraints through PDF/X export
- Paper Shopping Bags: The Ultimate Design Guide — turnover depth specifications and construction guidance
- How to Print on Kraft Paper Bags — color, opacity, and substrate-specific printing notes
- Customizing Luxury Paper Bags: Concept to Creation — procurement journey and prototype requirements
- Gatherpackaging Paper Bag QA Checklist — sample approval workflow and QA checkpoints
- Gatherpackaging Step-by-Step Design Guide — GSM and structural reinforcement guidance for retail bags
- Gatherpackaging Sustainability Page — FSC certifications, recycled content options, and water-based ink documentation
Share:
How Visual Appeal in Bags Shapes Brand Perception
Bag Gusset Design: A Technical Guide for Packaging Teams